Loading cart contents...
Guide To Pinhole Photography
Pinhole photography uses the most basic concepts of a camera. A lightproof box, an aperture, and light-sensitive material. Light is passed through the pinhole to project an inverted image onto the paper or film on the opposite end of the camera.
With Pinhole Photography the distance between the pinhole and film determines the angle of view. The more shallow the depth, the wider the angle. Most pinholes are wide angle, this is useful as a longer focal length would make it harder to frame your image. The wide angle makes it much easier to frame your image, as much more of the scene is included.
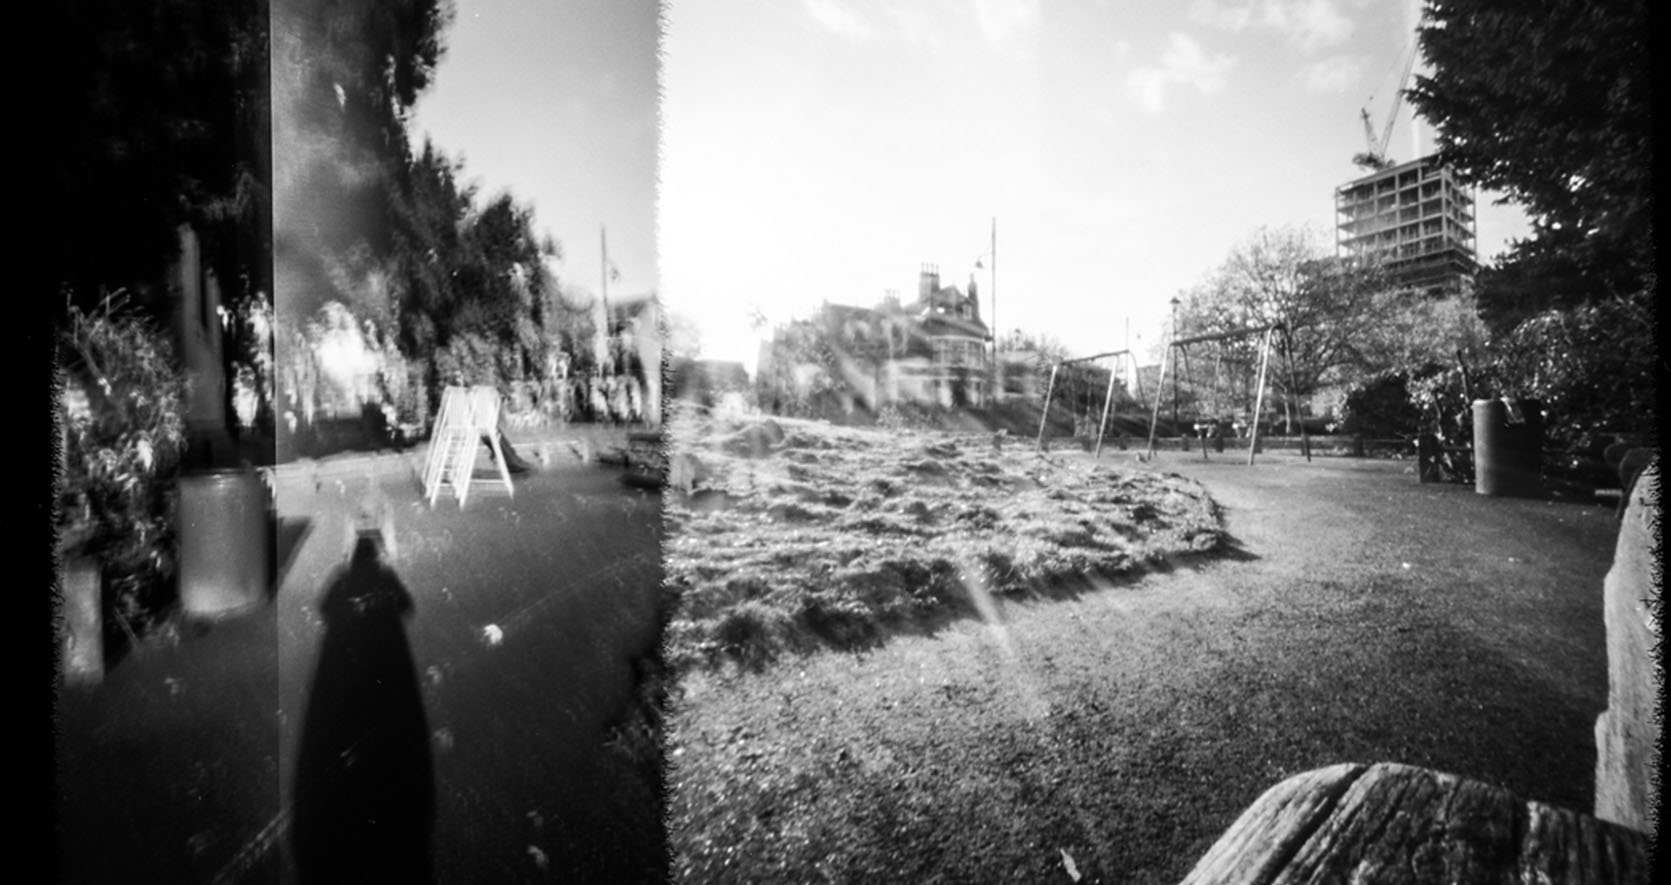
As a beginner, using pinhole can be an exciting introduction to analogue photography as it reduces it to it’s most basic elements. There is a mysterious aspect to pinhole photography. Due to the lack of viewfinder, you don’t know exactly what you are going to capture. Part of the enjoyment can be that there is an element of the unknown until you see the developed exposure.
Pinhole photography, although simple, is something that requires some thought. Time has to be taken to think about exposures; the movement in the scene; what is static or moving; what will the blur look like? It can be a calming, meditative process. A perfect way to slow down the process of capturing an image, focusing only on the most important steps.
Long Exposures And New Perspectives
Because your pinhole apertures need to be small you will always be working with long exposures, even on bright days. As you are going slow anyway, you can use a low ISO film to get the best detail possible. You won’t gain much with a faster speed film except grain. So a slower film will give you a sharper, cleaner image.
You will need a tripod to get sharp images with your pinhole. Ideally, you should also use a cable release. Some of the more advanced pinhole cameras will enable this option. It will help you get the best out of the camera. The more you use your camera the more you will be able to gauge exposure times and results.
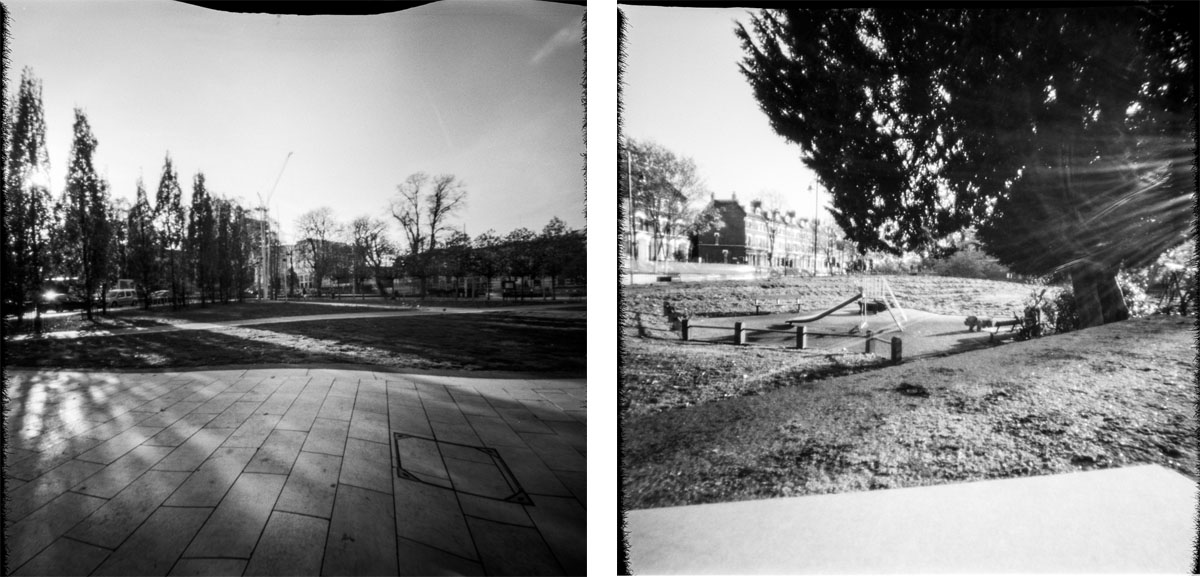
If you’re just starting out with pinhole photography, or making your own camera and aren’t using a tripod you definitely want a solid surface for the camera to sit on. The ground is a good place to start, plus you’ll get some interesting perspectives.
Pinhole Cameras
Pinhole cameras are so simple you can make one yourself. All you need is a cardboard box. It will work best if you paint the inside black. This will stop light reflecting inside the camera. A needle can make the pinhole itself and you can tape a flap of card over the hole for your shutter. Find a light-tight space, or changing bag, to tape some film or paper inside the camera and you’re ready to go!
Obviously, that makes a very basic pinhole camera. On the other hand, you can pick up a precision made, wooden pinhole. Cameras made by Zero Image have specially cut pinholes for sharper images and accurate exposures. Zero Image cameras can accept 35mm and 120 films, even 4×5 sheet film. Small and light, they are easy to shoot and carry when travelling. You can load them in daylight, which makes them much easier to use. Plus an exposure calculator on the back, alongside a light reading, will help you work out the exact exposure needed.
If you want to try out pinhole photography for yourself have a look at our selection of Pinhole Cameras. Alternatively, for a more simple first step into pinhole photography, have a look at the Solarcan. Create an image over a longer period of time, and capture the path of the sun.
Explore
News • Guides • Community • Film Reviews • Film Developing Times • Choose Your Film