How To Make A Darkroom Print
Shoot film and want to take your photography to the next step? Alongside processing and scanning your film you should try printing your images. To get you started, here’s our beginners guide on how to make a darkroom print.
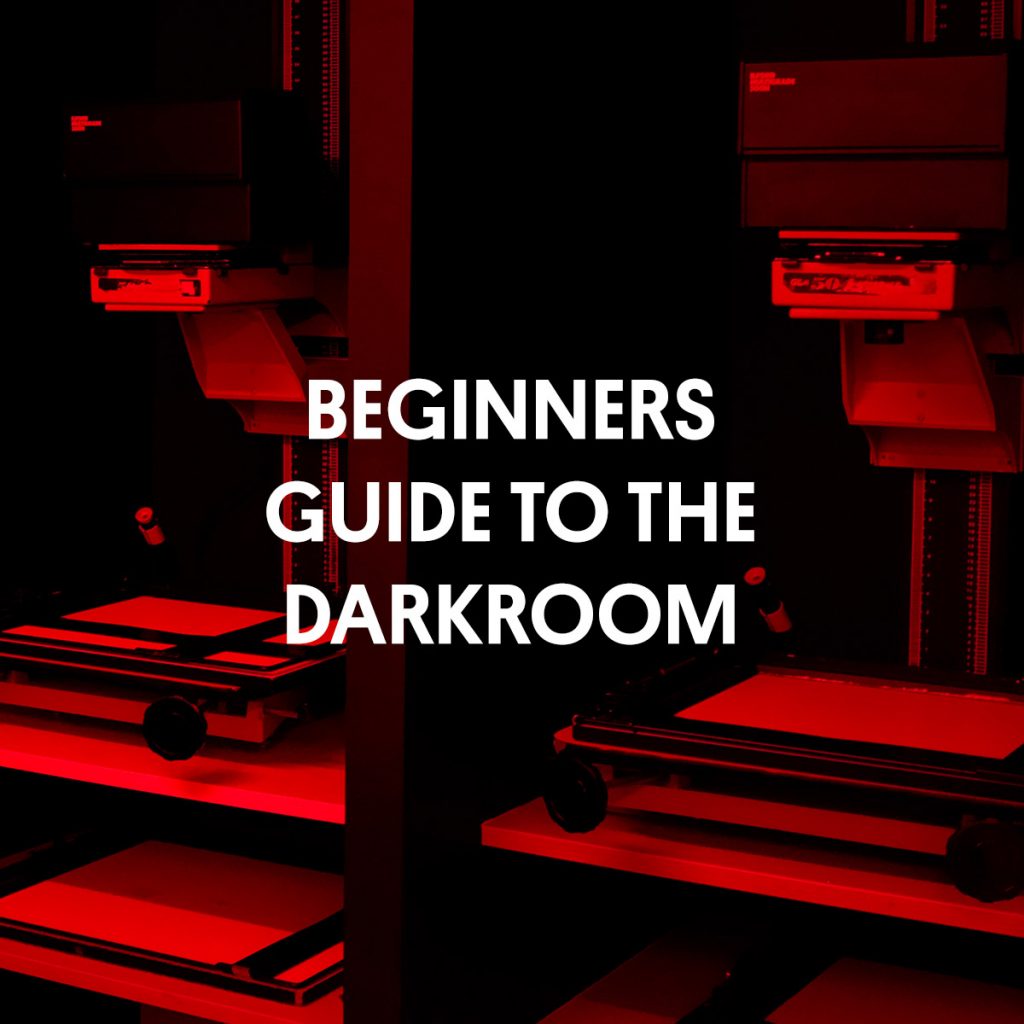
If you’ve never been in a darkroom before, you should check out our Beginners Guide To The Darkroom. This will give you an idea of what you’ll find when you are ready to make your first black and white darkroom print.
Negatives and Paper
The most important things you’ll need before you head into the darkroom are your negatives and paper.
It’s worth planning which photos you are going to print. This is where a contact sheet is useful. You can decide which images you think will look good as a finished print.
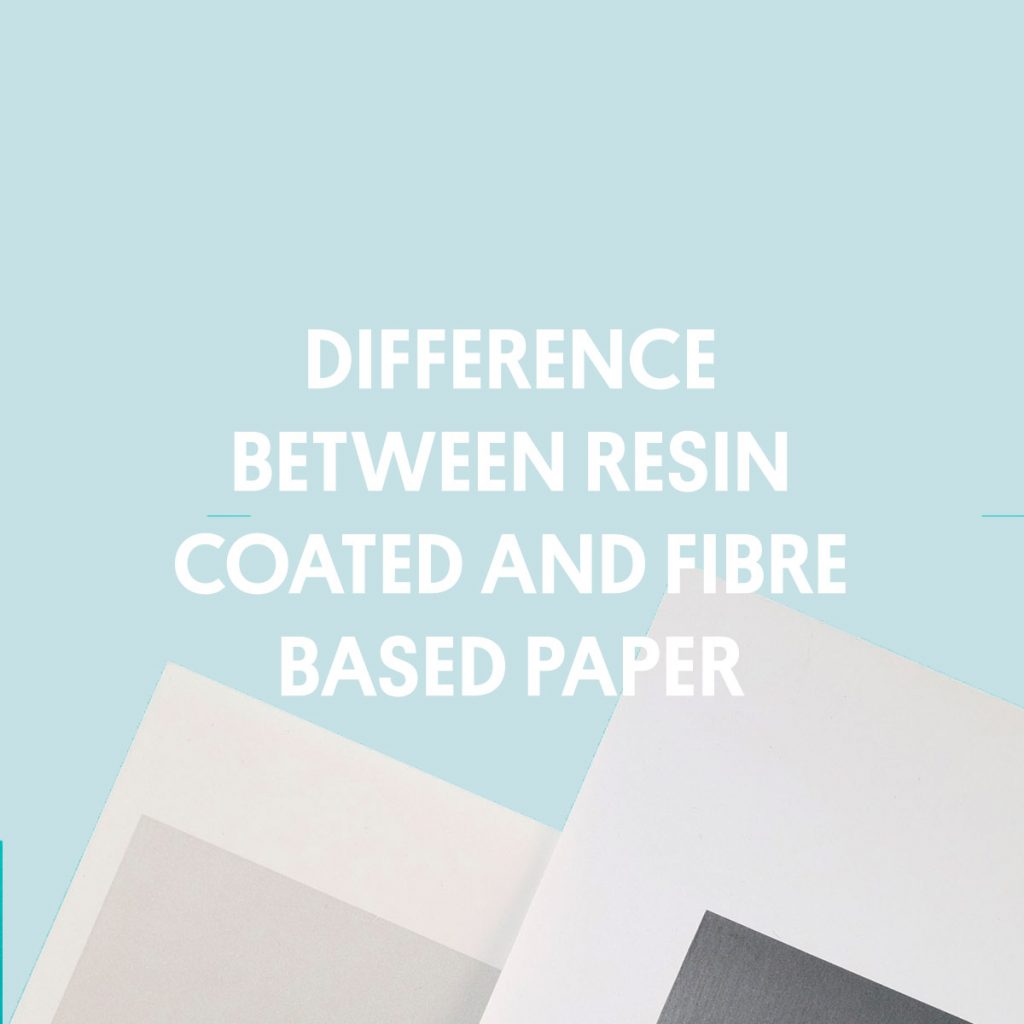
You will also need to choose some paper. There are a few things to take into consideration. When printing black and white you need to choose whether to use Resin Coated or Fibre Based, which surface and importantly, which size.
Developer, Stop And Fix
When you get into the black and white darkroom you will have the developing trays set up, usually in or by a sink. These hold the chemicals you need to develop your print; developer, stop and fix. If you are printing at home, you will need to prepare these before you start. In a community darkroom, these are generally set up for you.
Using The Englarger
You will need to take the negative holder out of the enlarger to put your film in. This will be between the light source and the lens on the enlarger. There are different negative holder inserts depending on which format film you are printing. Choose the frame you want to print and put it in the holder, then slot the holder back into the enlarger.
Set The Size
Once the negative is in the enlarger you will use the easel to set the right size for your darkroom print. Two blades on the easel will move to set this. You will want to leave at least a small border so the easel can hold the paper in place while you expose it.
Once you have set your easel you will need to turn the enlarger on to get the image to the right size.
Focus
Enlargers have two focusing knobs, either on the side, or on the baseboard. One will move the enlarger head up and down, the other one is for fine focusing. You will move the head to get the projection to the right size, then you will look through a focus finder to make sure the grain is in focus. This will ensure your print is sharp. Once it is the right size and in focus you can stop the lens down the second smallest aperture and turn the enlarger lamp off.
Test Strip
Now you have your image set up at the right size you need to get your paper out. The easiest way to determine the best exposure is by making a test strip. Tear a bit of paper off the top sheet in your pack, this way you don’t use a whole sheet for the test strip. Place the piece of paper in the easel so that it covers a good amount of the image. Next take a bit of card and place it over the paper, leave a small strip showing at the end. Then, set the enlarger timer for 5 seconds. Each time you set the time going move the card a little further down the piece of paper. Once you develop it you will have a good idea of how long your exposure needs to be to get the best print.
Develop Your Test Strip
Time to develop it. Take your paper and put it in the developer. Slowly agitate the developer by gently lifting the corner of the tray. Keep this going for 2 minutes to fully develop your image.
Next step is to take it out of the developer and move it into the stop bath with a pair of tongs. Agitate for 30 seconds and then move it to the fixer. You agitate the print in the fix for two minutes if resin, or four minutes if fibre based. Now, you can take your print out into the light to inspect it. If you’re in the darkroom on your own, this is when you can turn the light on. But, always make sure you’ve put your paper away first.
You’ll need to put the print back in the fix for another minute or two. Then you’ll move it to the wash. Fixing is important because it converts unexposed silver halides into silver thiosulphate, which is water-soluble. Which means the unexposed silver halides can be washed away.
Choose An Exposure Time
As this is a test strip, you will find the section of exposure that is closest to what you’re after for your final print. Use this guide to set the desired time in the enlarger timer. You will then put a whole piece of paper in the easel and expose the sheet for the full amount of time.
Make Your Print
Now repeat the same steps as when you developed the test strip to make your darkroom print. Develop. Stop. Fix. Wash. The wash time will depend on whether you are printing with Resin Coated or Fibre Based paper. Resin paper only needs 10 minutes. Whereas, fibre paper will need an hour to wash.
Once the print has been fixed you can inspect it in the light. How does the exposure work across the whole print? Does it need to be a bit lighter or darker? Some areas of the images may be darker or lighter than the rest. This is where you might need to dodge or burn.
Depending on how you feel about the print, you can do another version or set up a new negative. Sometimes you get it right first time, and others you need a few attempts.
Wash And Dry
Once you are happy with how the print is looking you will want to make sure it is thoroughly washed. As stated above, a resin print will only need 10 minutes, whereas fibre prints need an hour.
After the print is fully washed you will need to lay it out to dry. Some darkrooms will have a dryer for resin coated paper. They have rollers that you feed the wet paper through and it comes out dry on the other side. In most cases you will lay your prints on blotting paper, or on mesh screens to let the prints air dry.
Resin prints will dry fairly quickly, and dry flat. On the other hand, fibre prints will need to be left overnight to dry and will then need to be flattened, as the edges will curl while drying.
And that’s it! These are all the steps you will go through to make your first darkroom print. We would always recommend starting with resin coated paper. It is easy to handle, and needs much less washing and drying time. Giving you more time to experiment with exposures.
Explore
News • Guides • Community • Film Reviews • Film Developing Times • Choose Your Film
