Are you new to film photography and want to find out more about printing your negatives? Well, here’s a beginners guide to the darkroom.
Even if you are new to shooting film, you have probably heard of a darkroom before. Although, you might not know exactly what a darkroom is and what it is used for. So, here goes, this is our beginners guide to the darkroom and how you use it.
The main use of a darkroom is to print your photographs in the traditional way. Its called a darkroom because it is almost completely dark – apart from a red light called a “safe light”. This is really important because it allows you to handle the light-sensitive materials necessary to make traditional darkroom prints.
A common misconception is that you need a darkroom to develop your own film. It isn’t necessary to use a darkroom to develop film. You can do this at home easily as we explain in our guides How To Develop Black And White Film and How To Develop Colour Film.
Darkroom Equipment
When you enter a darkroom you will encounter several key bits of equipment. All of which are necessary for it to work properly. Here we will explain what these things are and what they do.
The Enlarger
An enlarger is a special kind of projector used to create your photographic prints. By shining light through the negative, it transfers your image from the small negative and enlarges it onto your paper. It is the most important piece of equipment in the darkroom.
Safelight
A safelight converts your dark space into a red-lit darkroom. The reason you can have this red light on without ruining your paper is that nearly all darkroom papers are orthochromatic – which means they are partially blind to red light. Therefore they can be handled under dim red light without exposing them and ruining the paper.
Focus Finder
A Focus Finder is used to help you focus on the enlarger. It is important because if you don’t focus properly you will get blurry prints – just like when you are taking photos. When you look through it, it magnifies your image so you can see the actual grain of the negative you are printing. This helps you identify when the image is in sharp focus.
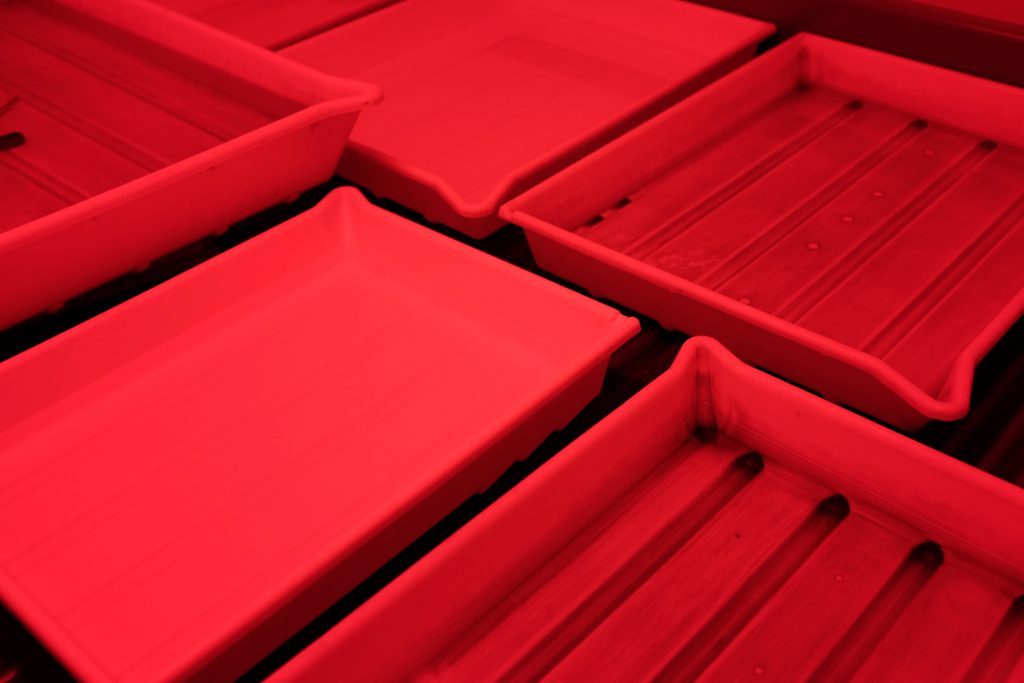
Darkroom Trays
Most darkrooms will have at least 3 trays set up. They are used to hold the developer, stop and fix when printing. There will also be a wash bath. You will be moving your paper from one tray to another through the developing process. They are designed to allow the chemicals to flow around the print while you gently agitate. These are simple, but vital when it comes to printing in the darkroom.
Print Tongs
Print tongs allow you to move your darkroom paper through the developer, stop and fix trays when processing your paper. They help reduce the risk of marks and blemishes as your prints can easily be damaged by handling when wet. A set of three tongs also means you can reduce the contamination between the different processing trays by assigning one set to each tray.
These are just the essential pieces of equipment you will find in a darkroom. Browse our Darkroom Equipment section to see the full range of kit we sell.
Printing In A Darkroom
When you are heading into the darkroom to print you will need to take a few things with you.
Negatives
You can’t print without your negatives – so don’t forget them! The first thing you are going to want to do is to make a contact sheet of your negs to see which ones are best for printing.
Our Negative Storage Boxes are perfect for transporting your precious film negatives to and from the darkroom. Read our Guide To Film Storage to find out how to store your film negatives safely.
Darkroom Paper
Before you go into the darkroom to print you will have to choose a darkroom paper to print on. You will have to think about the tone and surface of the paper you want to use as there are several options.
Read our Guide To Darkroom Paper for more help in choosing the right paper for you.
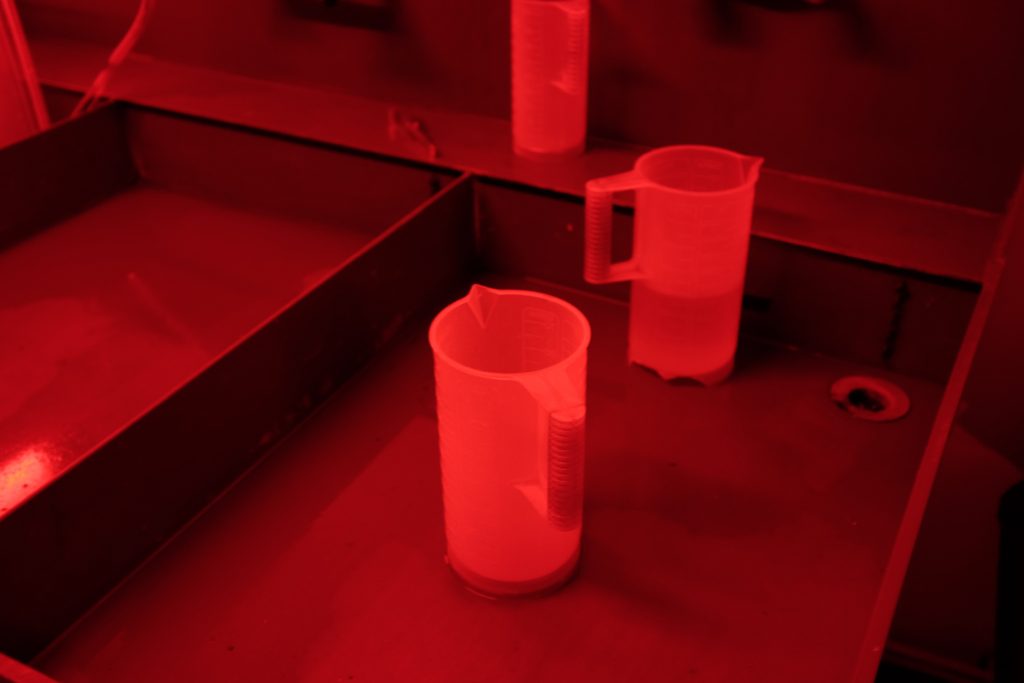
Chemistry
You will need chemistry to develop and fix your image to the paper. Some darkrooms might provide this for you, others will want you to bring your own. Either way, it is good to have an understanding of what you are using as it will affect your final prints.
A specific paper developer, which is different from a film developer, needs to be used to develop the image on your paper. While stop bath and fixer are the same for film and paper and can be used on both. There are also additional products, such as Wash Aid, that will help speed up the washing of your prints.
We sell a range of darkroom chemistry which you can browse.
Setting Up A Darkroom
You can set up your own darkroom if you have a suitable space. You will need enough space for the enlarger, and your set of trays. We sell most of the equipment you will need to get started.
Your other option is to find a good local darkroom to hire. We share a space with Photofusion who rent darkrooms out by the day. They also offer Darkroom and Printing courses if you need a hands-on introduction to the darkroom.
If you’re new to film then read our Beginners Guide To Film Photography. And if you want some help picking out your first roll then read Choose Your Film, it will give you a good idea of the options you have.
Explore
News • Guides • Community • Film Reviews • Film Developing Times • Choose Your Film