Parallax presents a guide to film processing, walking you through every step of how to develop black and white film at home.
You’ll be surprised at how easy it is to develop black and white film. We’ll show you how, with the stuff on the list below, you can process your own film in eight steps.
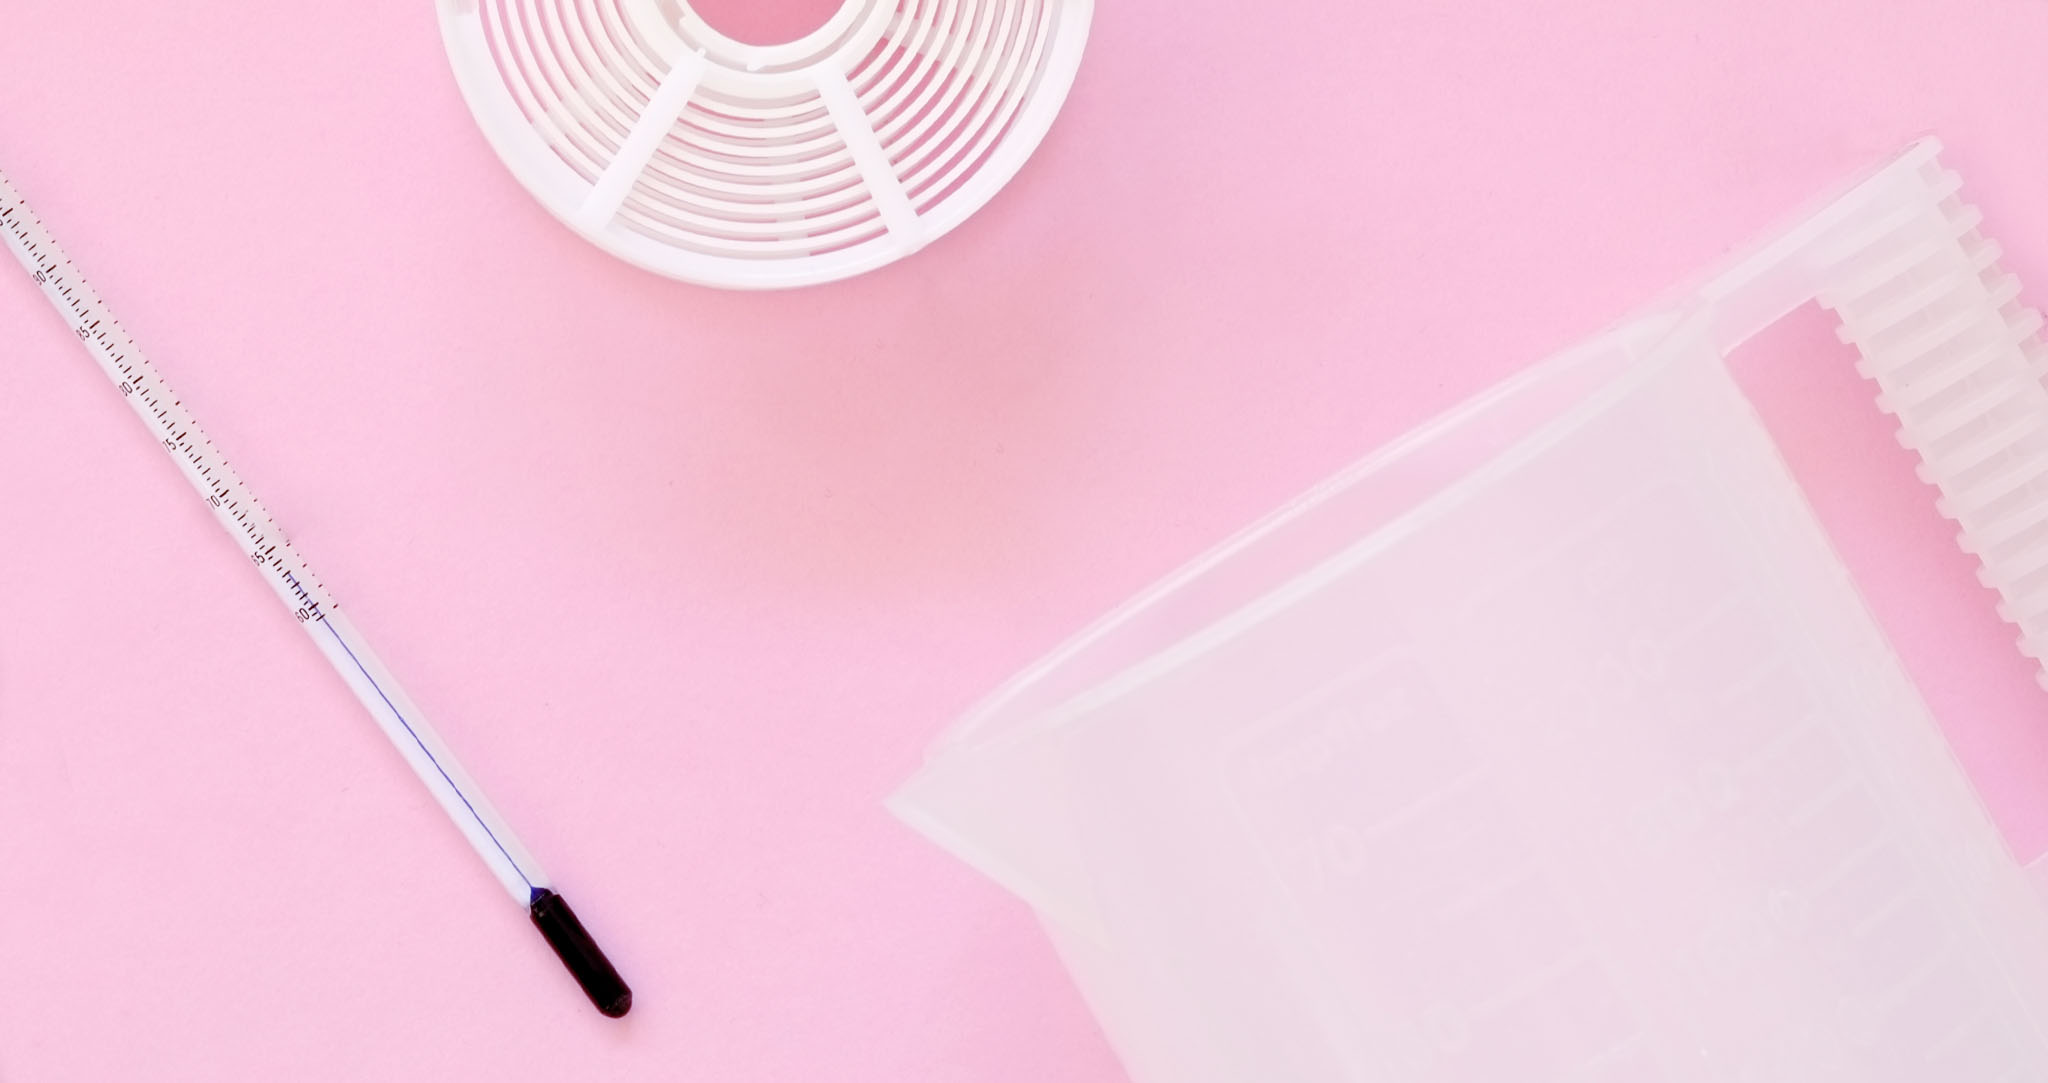
You will need:
Developer
Stop Bath
Fixer
Wetting Agent
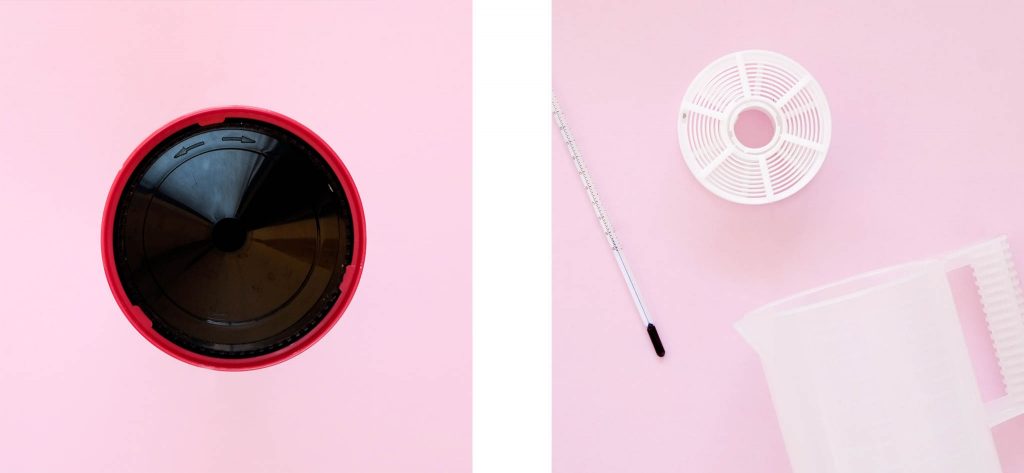
Developing Tank
Changing Bag
Thermometer
Storage Bottles
Film Opener
Scissors
If you want to develop black and white film at home, we have a Film Processing Bundle which contains everything you need.
1. Get Ready
Let’s start with loading the film. This needs to be done in complete darkness. If you have a dark room that’s perfect, to make things easy in the dark, lay your developing tank out in front of you with the lid off and the reel removed. You will also need a film canister opener (for 35mm), some scissors and your film. When you are ready, turn off the lights.
If you don’t have a dark space available, you can use a changing bag. Just place all the bits inside the changing bag and zip it up with all the stuff inside. Put your arms inside the sleeves – the cuffs should be tight enough around your arms to prevent any light from getting in.
2. Practice
We would definitely recommend getting some exposed film to try the next step out in the light. You’ll get the hang of it and be loading the reels without thinking soon, but it can be tricky the first time. Practice makes perfect they say.
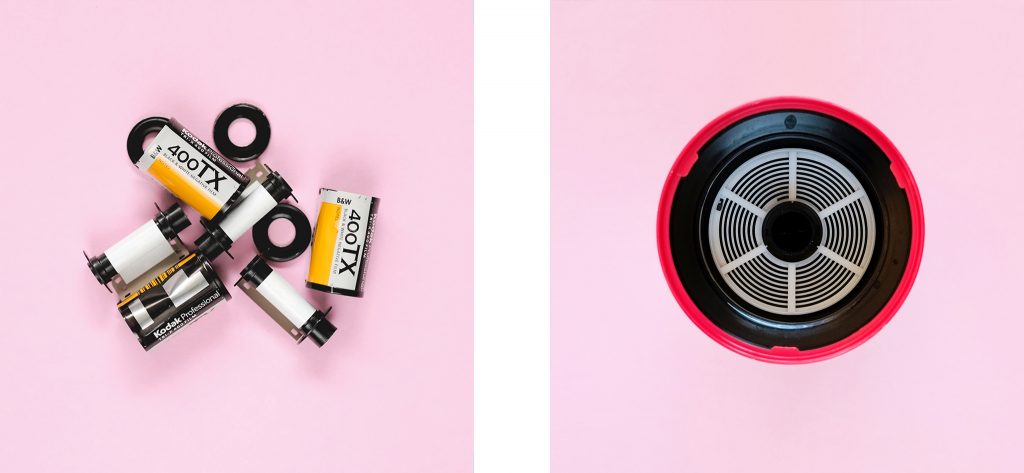
3. Load Your Film
Now open your undeveloped film. Use an opener on 35mm to remove the top ring of the film canister and pull out the roll of film. Carefully cut the tongue of the film, leaving you with a straight edge that goes all the way across. If it is 120, then just unravel the roll and detach it from the backing paper.
Now pick up the reel and make sure you can feel both notches on the outer edge are aligned. You then need to slide the end of the film under the two notches until you feel it catch the sprocket holes. If the film has gone in straight you will be able to turn both sides of the reel in an alternate back and forth motion, which will move the film along as you go.
Once the film is on the reel you need to put it in the tank. After the reel is in, put the lid on and turn it until it locks in place. Your developing tank is now light-tight and it’s safe to turn the lights on or take the tank out of the changing bag.
4. Mix Up Your Chemistry
The specifics of this will depend on which chemicals you have chosen. You can usually find the dilution ratio for chemistry on its label. With this, you can work out how much you will need in relation to water. You will need 300ml of developer, stop and fix per 35mm film, and 500ml per 120 film.
So, say your developer has a dilution ratio of 1+9 and you have one 35mm film to develop. You would divide 300ml by 10 (the total of 1+9), and this would tell you that you need to mix 30ml of developer with 270ml of water. Repeat this for the three different chemicals.
Each chemical will also give you the time it takes to work and the temperature it works best at. When processing black and white film the standard temperature is 20°. It’s best to get your water to the right temperature first, then add in the chemistry. If you find it is warmer or cooler than it should be once mixed up just sit your jug in warm water to heat it up or cold water to cool it down.
If you’ve got three jugs you can mix up your developer, stop bath and fixer in advance so they are all ready to go as you need them.
5. Develop Black And White Film
You’re now ready to process black and white film. Every film and developer combination has a specific developing time so make sure you know how long your combination will need. Set a timer going, a clock or your phone works fine for this, and slowly pour the developer into the central funnel of the processing tank. Once it is all in, securely fit the flat lid.
Throughout development, you will need to agitate the tank. This makes sure the film gets evenly developed. Agitate by turning the tank upside down, then back up again. Do this for the duration of the first minute. Once the minute is up bang the bottom of the tank against a hard surface. This will dislodge any air bubbles that have built up on the film. Continue agitating for the first 10-15 seconds of each minute until the full development time has passed.
This is the standard agitation, but some developers may have instructions for other methods. After some experimenting, you can find the one that works best for the results you’re after.
As the development time nears the end get ready to pour out your developer. A one-shot developer, such as Foma R09 should be discarded. A reusable developer can be put into an airtight plastic bottle to be used again.
6. Stop Bath
Now quickly pour in the diluted stop bath. This will completely stop development. Agitate the stop for a minute and pour it back into a storage bottle. The stop can be reused many times so don’t waste it.
7. Fix Your Film
Next, pour in your fix and again agitate for the first minute. Fixing will take up to 5 minutes. The fix can also be used again so pour it out into a bottle once the film is fully fixed. About halfway through fixing the film will be safe to look at in the light if you can’t wait to see it. Make sure you give it the full time though as this is key to the longevity of your negatives.
8. Wash And Hang Up To Dry
Now the film is developed and fixed you just need to wash it. Leave the tank under running water for 10-20 minutes.
Alternatively, fill the tank and agitate, inverting the tank 5 times. Empty and refill the tank, this time invert 10 times. Next, empty and refill, then invert 20 times. Finally, empty the tank.
When the film has been through the wash, fill the tank with water and put a couple of drops of wetting agent in. Leave to soak for a minute then hang up to dry.
You can use your fingers, chamois leather or squeegees to wipe the excess water from the film before hanging up to dry. Use a clip at the top and one at the bottom to help prevent curly film once it’s dry.
That is all there is to it. You should now be able to see your fully developed film.
Read More
Check out our instructions on How to Develop Colour Film. Read How To Develop Film At Home for a list of everything you’ll need.
How To Prepare Film Developing Chemistry explains how to get your chemicals ready for processing and How To Dispose Of Film Developing Chemicals explains how to dispose of them once you are done.
When you’re ready to go, you can find your Black And White Film Developing Times for your developer.
Explore
News • Guides • Community • Film Reviews • Film Developing Times • Choose Your Film