If you want to know how to develop film at home this guide will walk you through all the things you need.
Film processing is much easier than you think. Plus, it is almost as much fun as shooting the film. If you have the time and inclination, processing your own film can be a very rewarding part of the process. It will help you learn and develop your understanding of the basic principles of photography. Also, it is great to know you’re in control of the whole operation, from exposure to development, then onto printing or scanning. So, read on to find out what you need to develop film at home.
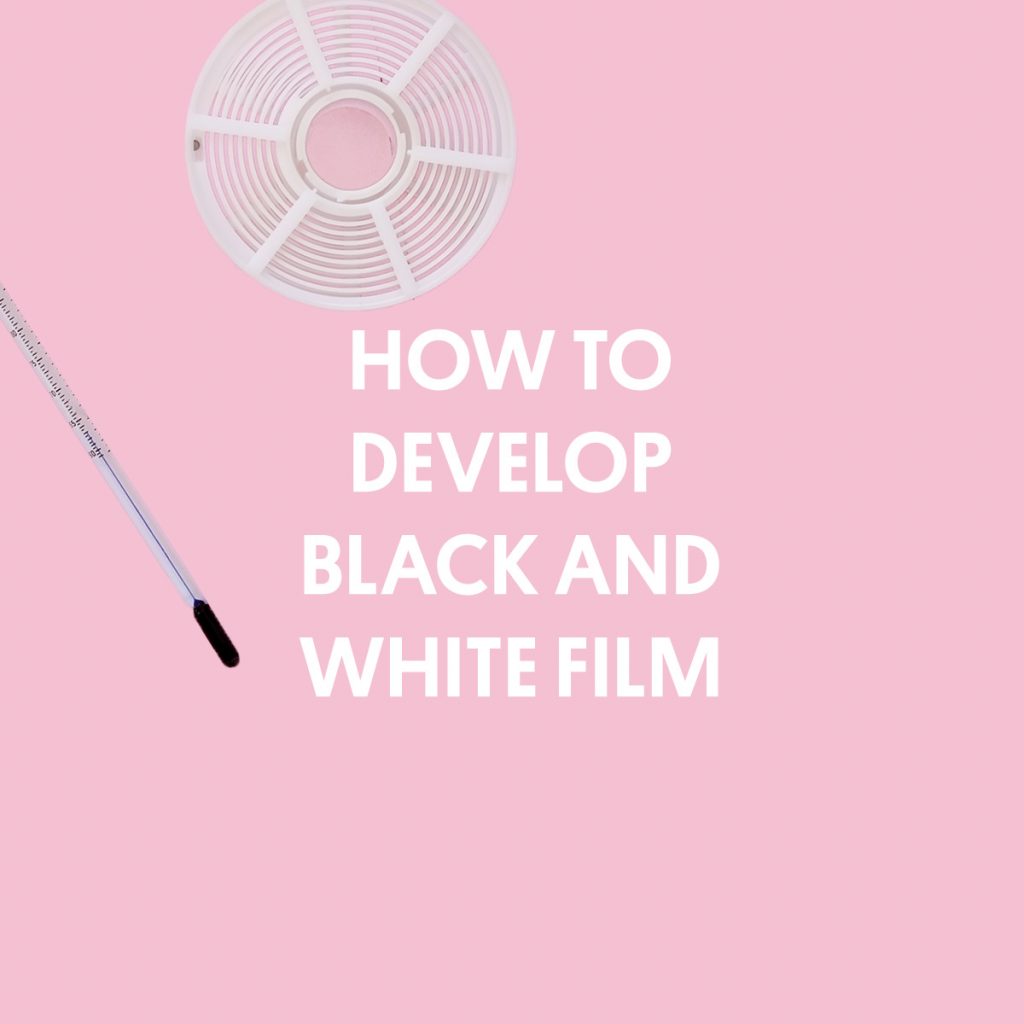
How To Develop Black And White Film
Our full guide to film processing walks you through every step of how to develop black and white film at home. You can read it here.
Simply, there are four different stages of black and white film developing. Each step uses a different chemical. Below we will explain what it step is and what it does.
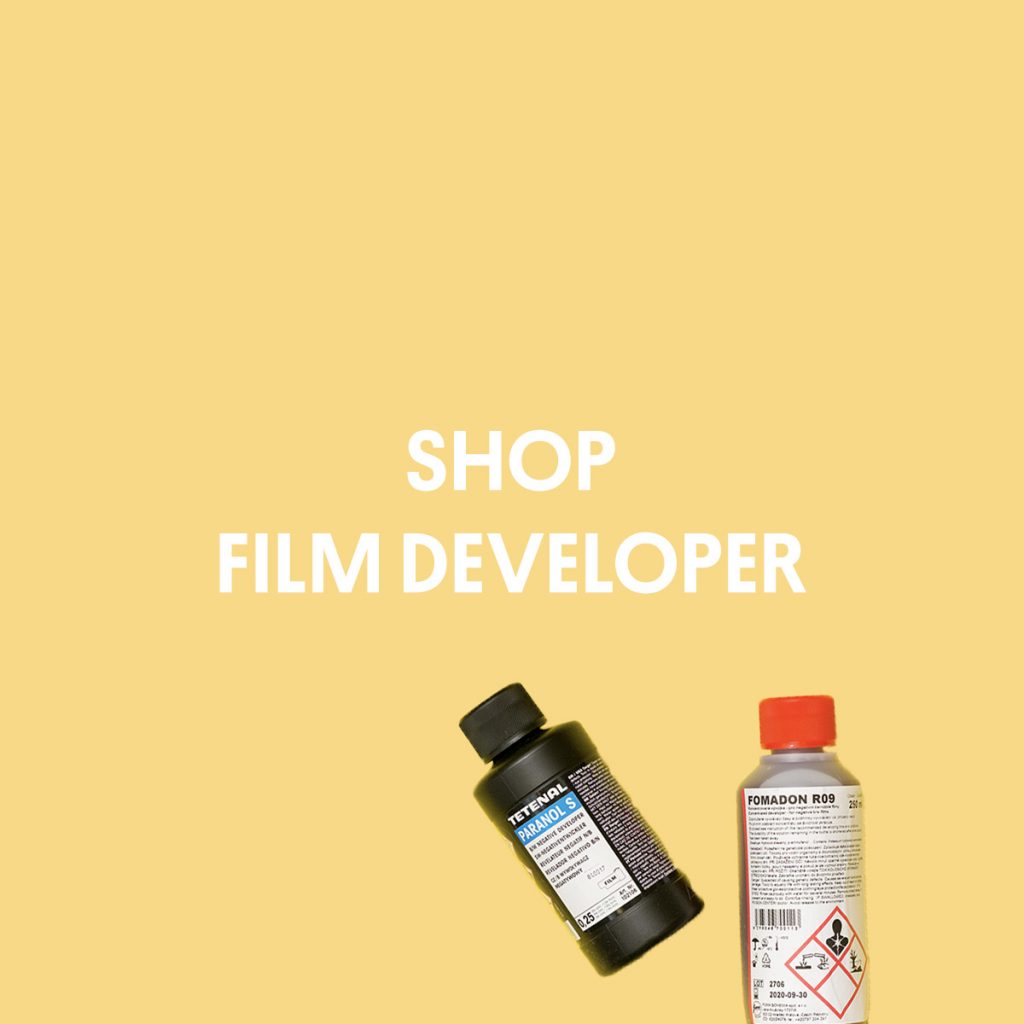
1. Developer
This will, unsurprisingly, develop your image. There are many developers to choose from, and you can find them all here. If you’re new to film processing we recommend the Tetenal Film Chemistry Starter Kit. Alternatively, Fomadon R09 is good value for money. It’s a classic formula and very economical.
Worth a read is our post on how to Choosing Your Film Developer. This is will talk you through the different black and white developers. And help you choose the right one for you.
2. Stop Bath
This, as the name suggests, this stops the development process. Not always 100% necessary, but does give more control over development time and rinses the developer from your film. Plus it will keep your fixer less from getting contaminated, and make it last longer. We always recommend using it when you develop film at home. Ilford Ilfostop comes in a 500ml bottle and because of it’s high dilution it will last you ages.
3. Fixer
Fixer clears all the unexposed film emulsion and fixes the silver in the exposed parts of your image. Fixing time is important as it stabilises the image and makes it light proof. Tetenal Superfix Odorless is a popular choice, with the added benefit of no smell, quite nice when processing at home. Fomafix P powder is easy to transport if you are travelling but you will need to store the solution once it is mixed up. Our most popular fix is Ilford Rapid Fix.
4. Wetting Agent
After washing its recommended that you soak your film in the wetting agent for a minute or two, this allows the water to slip off the film more easily which helps avoids drying marks. All wetting agents are similar, but if you had to chose one we’d go for Kodak Photo-Flo, it’s a handy size and good price. If you have hard water, as we do in London, add a bit more wetting agent than recommended.
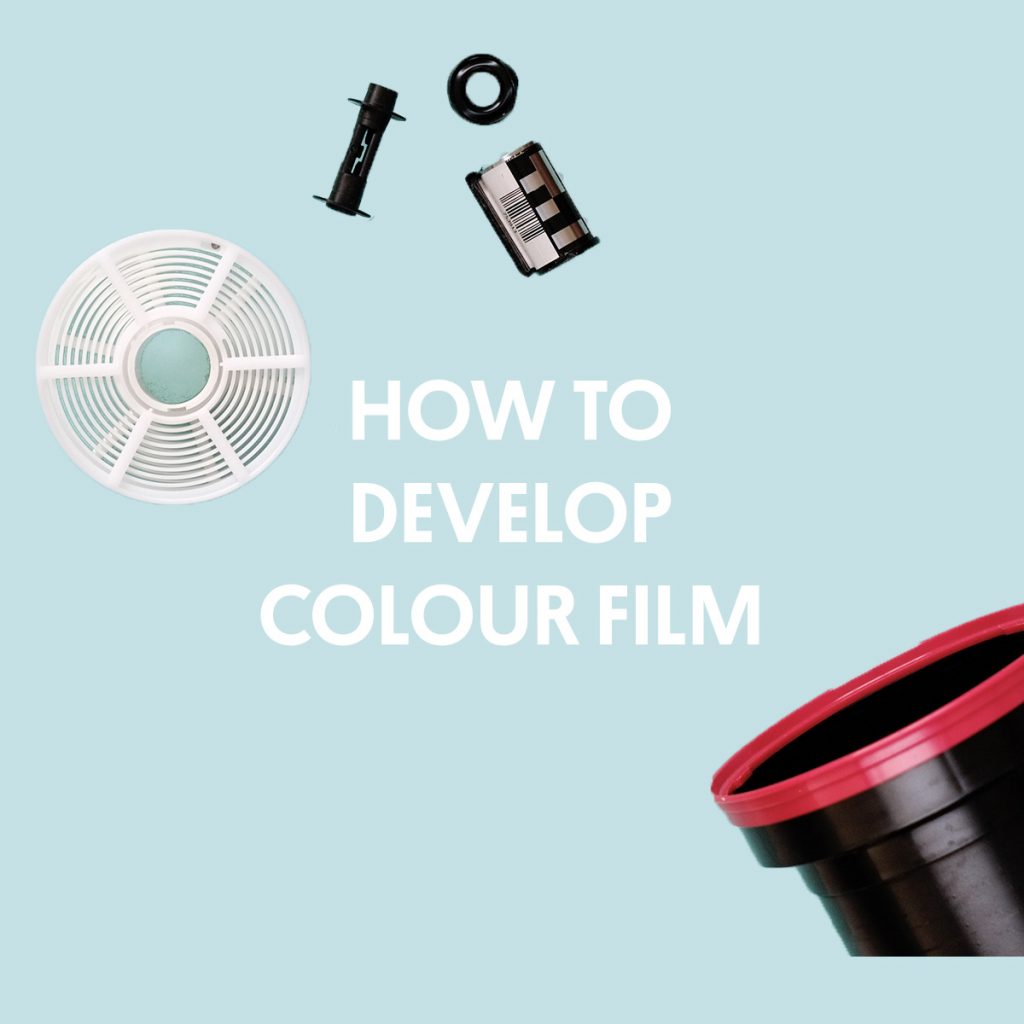
How To Develop Colour Film
Our full guide to colour film processing walks you through every step of processing colour negative film at home. You can read it here.
If you are processing colour film, all the chemistry you need comes in one handy kit. We use Tetenal’s C41 kit for developing colour negative film.
Film Developing Equipment
As well as chemistry, you will also need some equipment to develop film at home. Here is our list of developing equipment you will require.
While some bits are essential, other items you might not need depending on your personal setup. If you are in doubt, speak to us and we will help work out what you need.
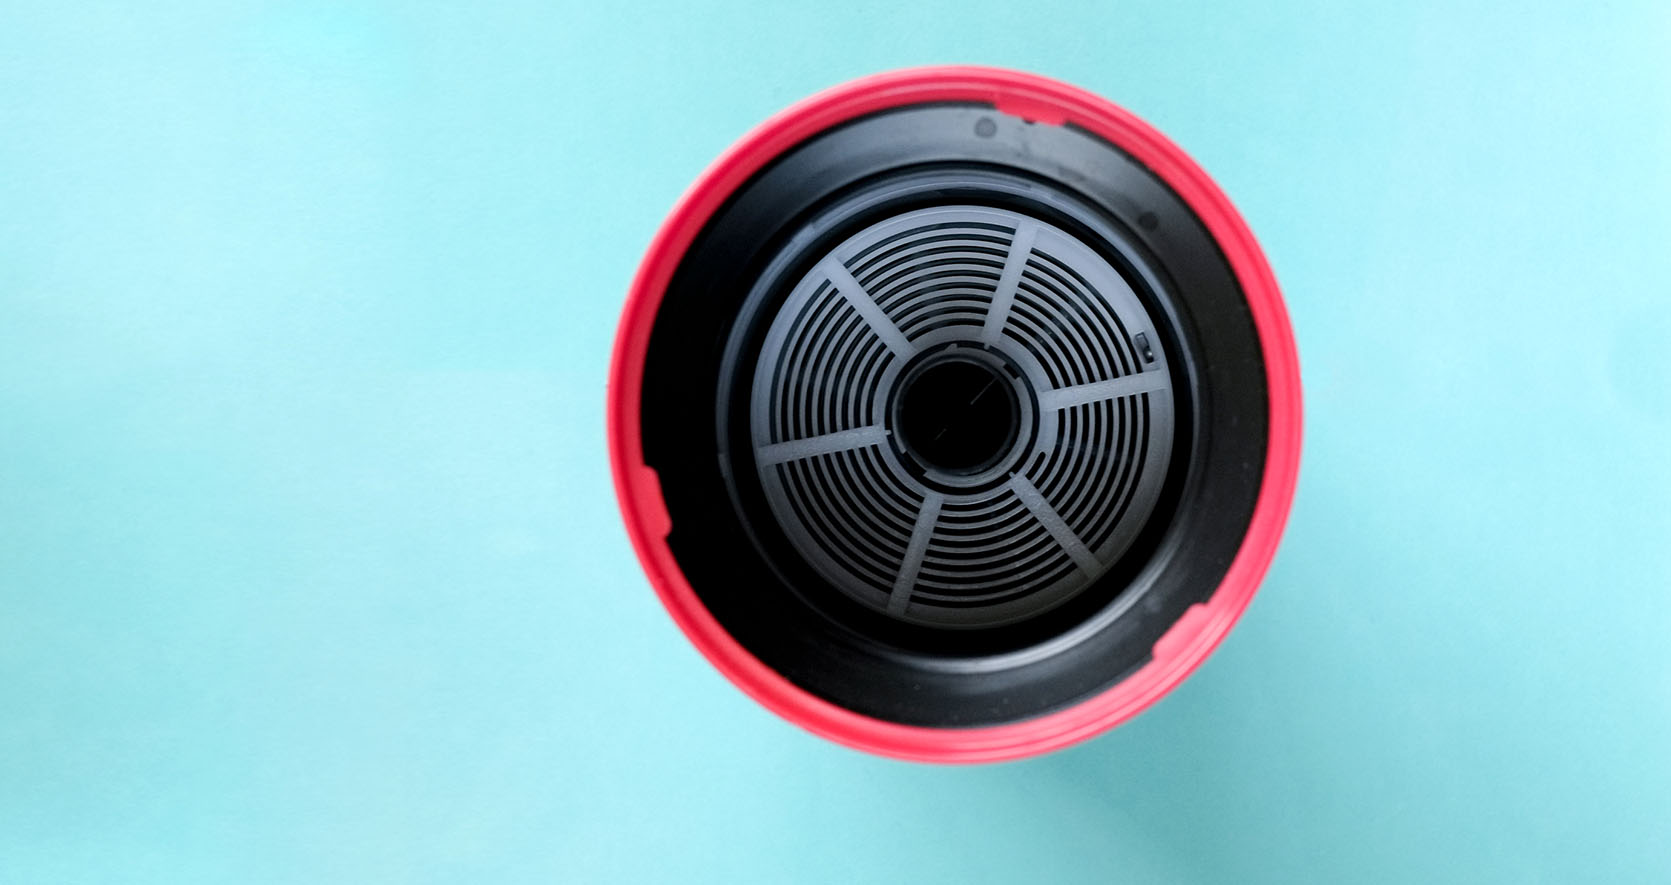
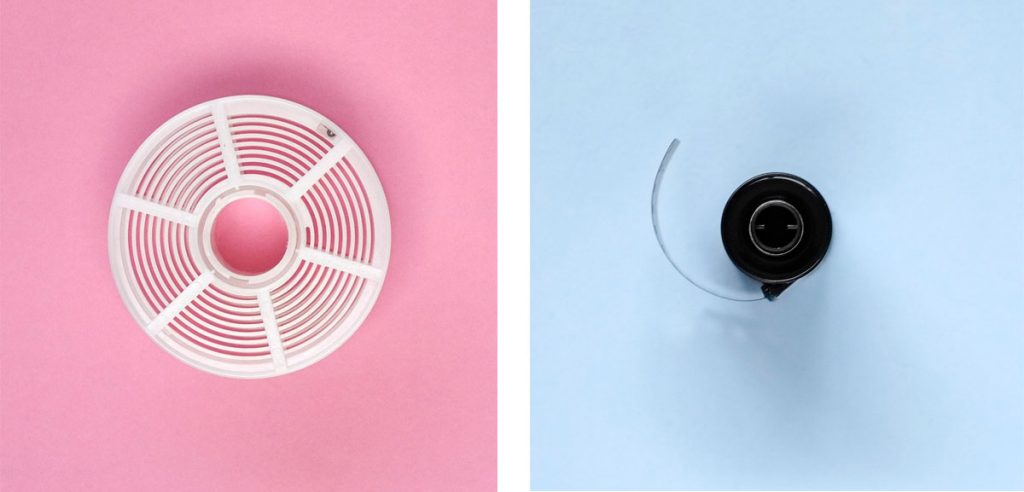
1. Developing Tank
This is where everything happens. You load your film onto the reel and seal it in the light-tight tank, all chemicals are poured in and out of the top. Paterson Universal two-reel tanks are a good deal as you get two film reels included. All the processing can be done in daylight. Loading, however, must be done in complete darkness, which brings us to our next item…
2. Changing Bag
Unless you have access to a darkroom, a changing bag is essential to developing film at home. It is a flexible and compact space to load film in complete darkness. The developing tank, reel, scissors, and film are all zipped into this light-tight bag. If you shoot large format film it is also perfect for loading your film slides. You can fit all these items into the Paterson Changing Bag.
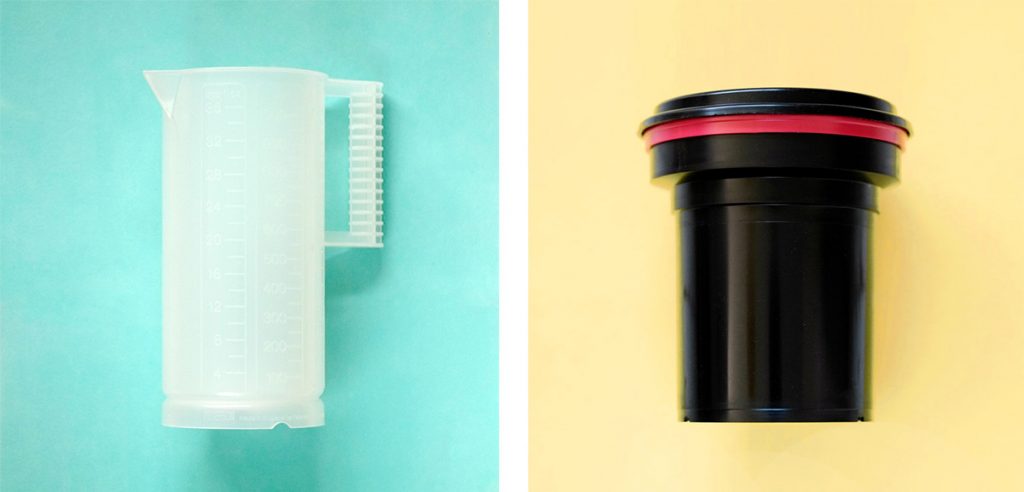
3. Measuring Jug
You will be measuring and mixing up your developer, stop and fixer in this. Two or three make for a smoother operation, but you could manage with one. 1 litre jugs are sufficient if you’re developing one or two rolls. Paterson tanks need 300ml of liquid to cover a roll of 35mm film and 600ml for 120.
4. Measuring Graduate
Depending on which developer you use, you might want a graduate in small increments to measure it out accurate amounts of your chemicals. Syringes can also be used for smaller amounts. The Paterson Measuring Graduate 45ml is useful for high dilution developers like Kodak HC-110 or Fomadon R09.
5. Thermometer
This is to make sure your chemistry is the right temperature. It is an essential piece of kit. Getting the temperature right is very important when processing film, particularly for the developer. We would recommend choosing the Paterson Colour Thermometer, even if you’re only interested in black and white right now, as it is useful to have if you decide to process your own colour film in the future, and it worths for both types of film.
6. Storage Bottles
Fixer and Stop bath can be used repeatedly once mixed up to a working dilution. It makes sense to buy some storage bottles to keep these in. They will be ready to use the next time you process film. Some developers, such as ID 11, can be used several times as well.
7. Squeegee or Chamois Leather
Both of these are optional, a lot of people are happy to use their fingers to remove the excess water when the film comes out of the final wash. Be warned, if a Squeegee picks up dirt it can leave scratches down the length of the film, so be careful. The emulsion on film is very is quite soft when wet and it doesn’t take much to scratch it whatever you use.
8. Film Opener
This Ilford Film Cassette Opener is to open up the 35mm film canister in order to load it onto the reel. A bottle opener will work just as well. You don’t need this for 120 films, as these will simply unravel from their spool.
9. Scissors
These are to help remove the film from the canister. You can tear the film with your fingers, but scissors will give it a straighter edge and make loading much easier.
If you’re new to film then read our Beginners Guide To Film Photography. And if you want some help picking out your first roll then read Choose Your Film, it will give you a good idea of the options you have.
You might also be interested in our How To Develop Black and White Film and How To Develop Colour Film.
Explore
News • Guides • Community • Film Reviews • Film Developing Times • Choose Your Film