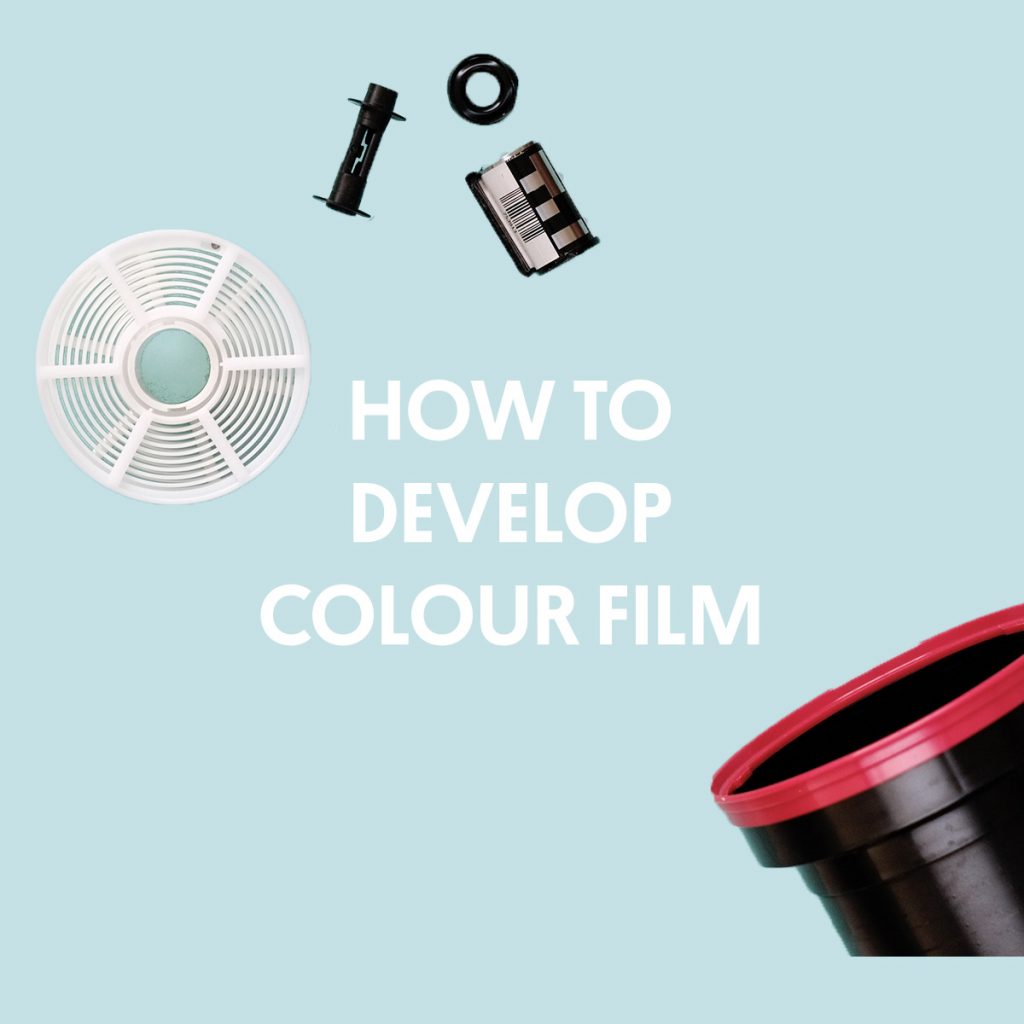
Parallax presents a guide to colour positive film processing, walking you through every step of how to develop E6 slide film at home.
You may be surprised that you can develop your own E-6 transparency film at home. There are a few more steps involved than when processing black and white, or even colour negative, but it isn’t as hard as you think. We’ll show you how, with the stuff on the list below, you can process colour positive film in some easy to follow steps.
You will find developing your own E6 slide film easier if you have already developed black and white or colour negative.
You will need:
Tetenal E6 Kit
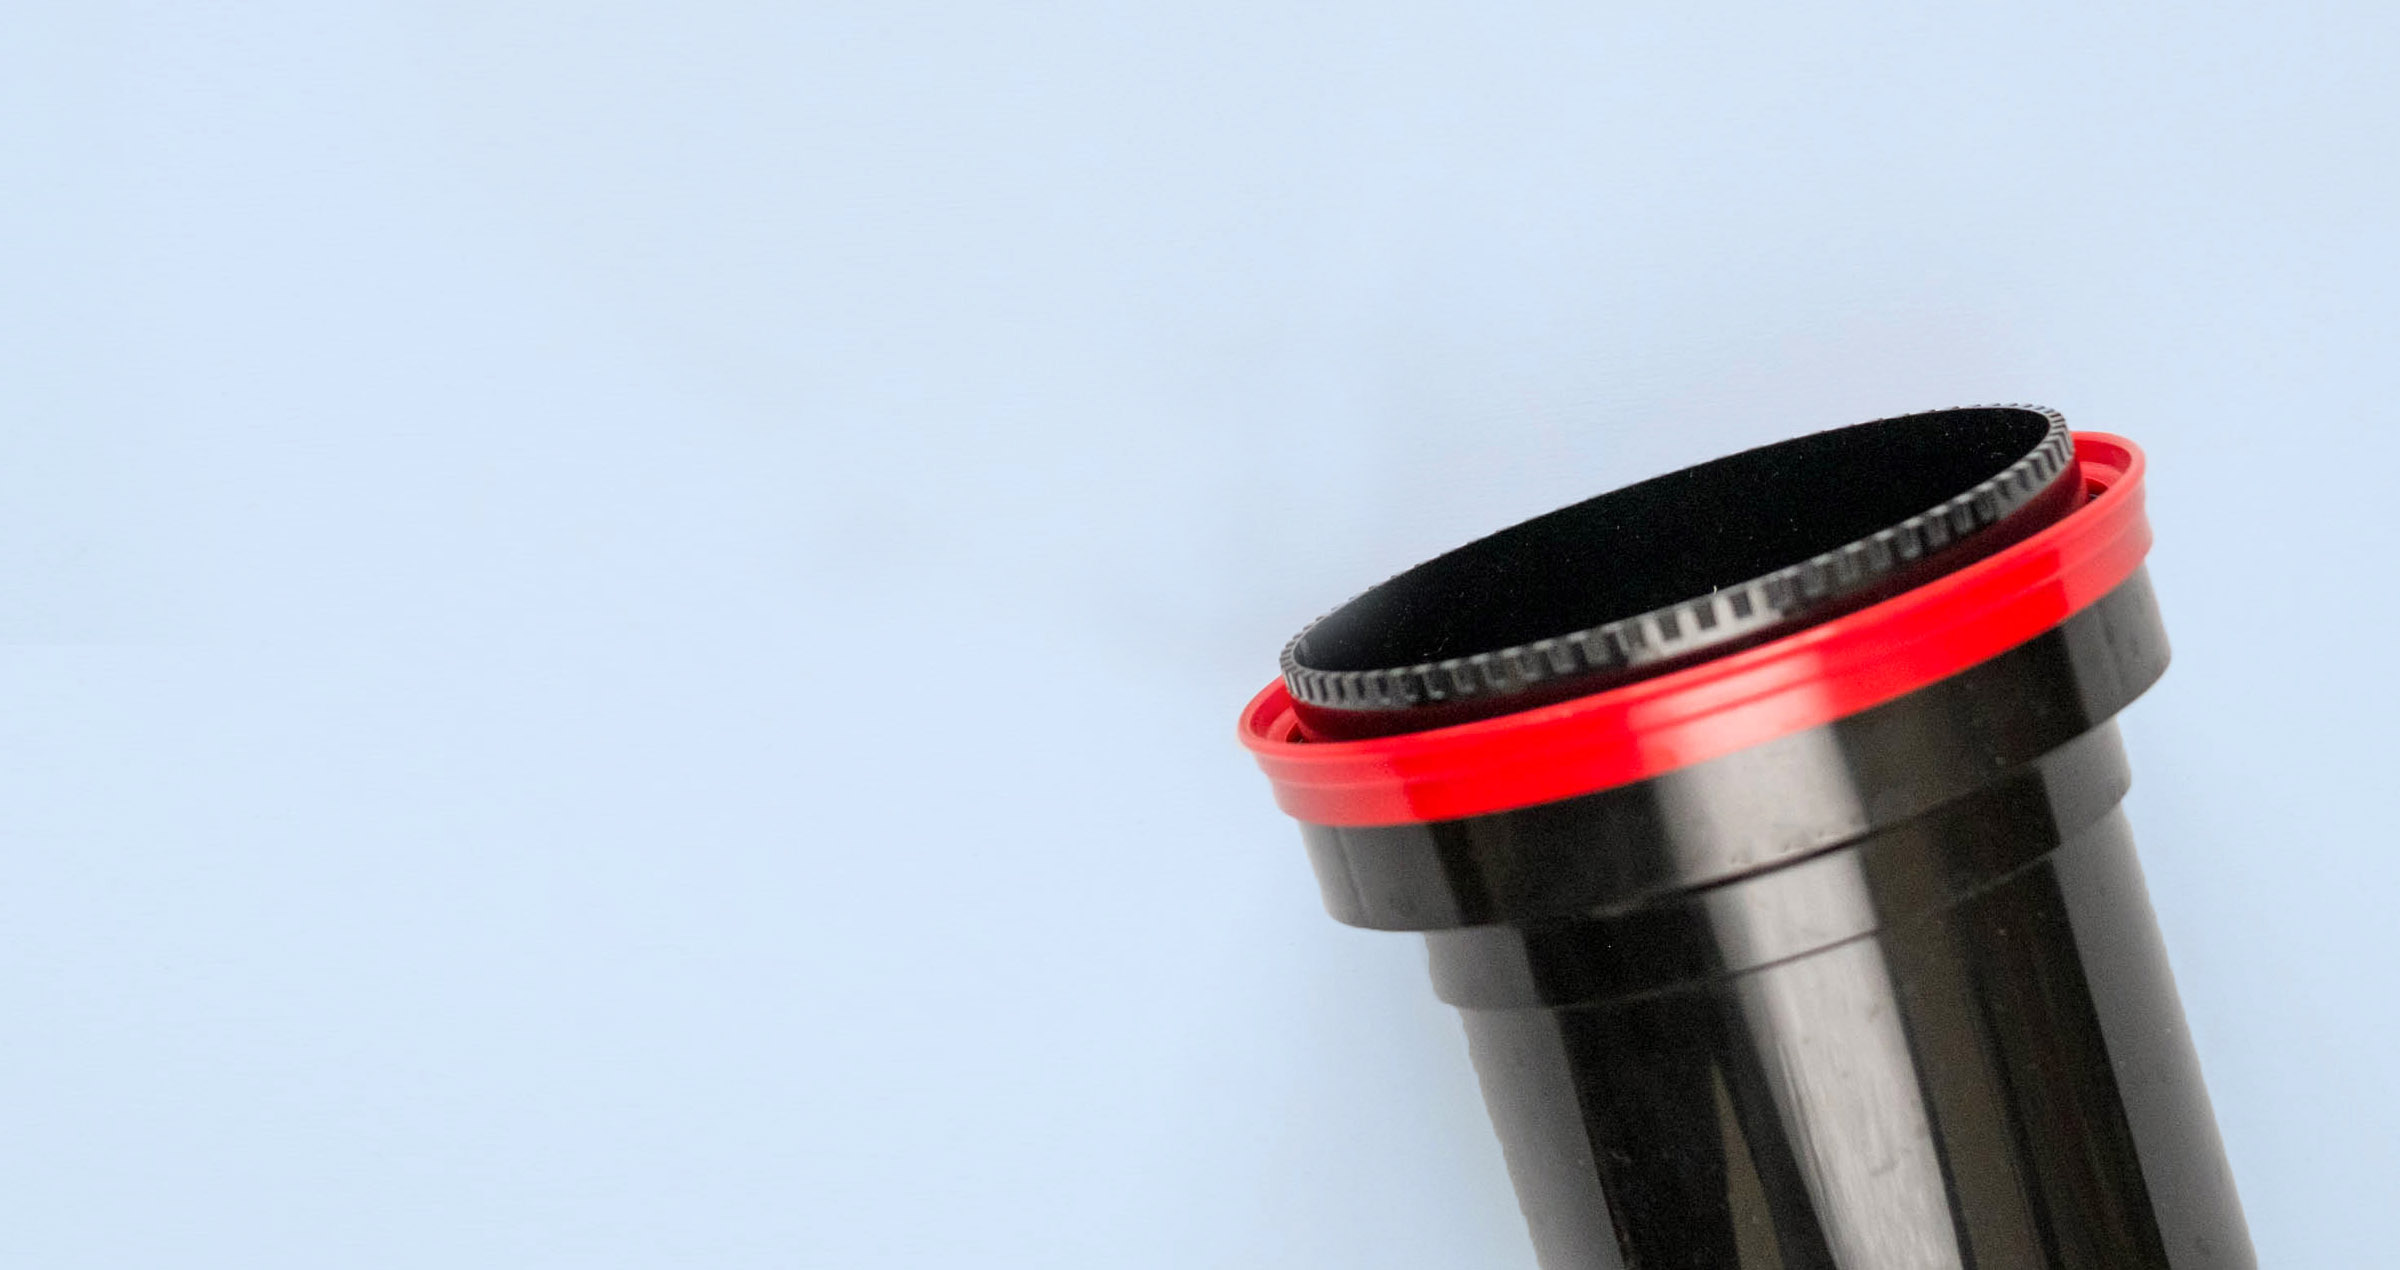
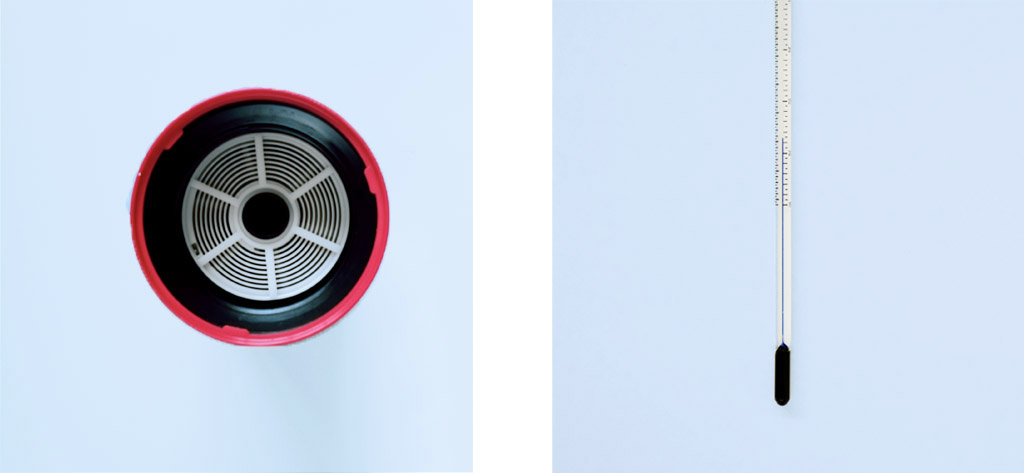
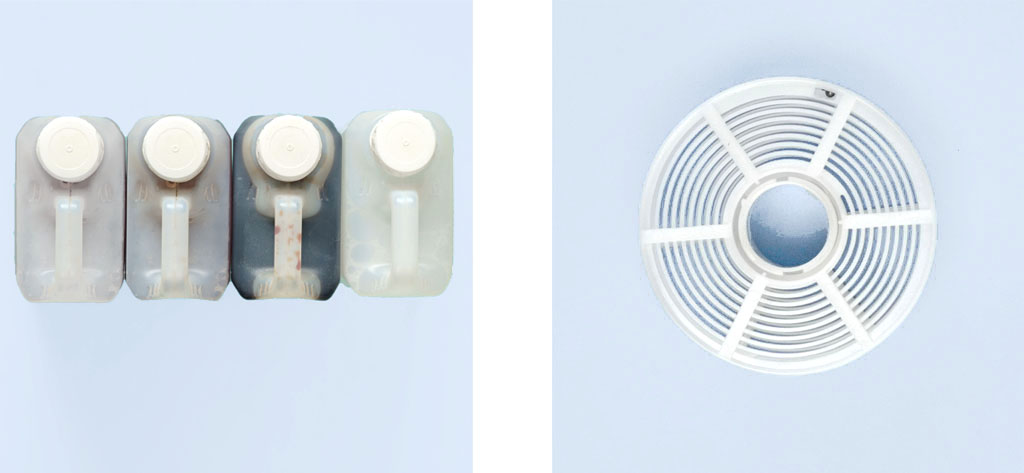
Developing Tank
Changing Bag
Thermometer
Storage Bottles
Film Opener (or a Bottle Opener)
Scissors
1. Load The Film
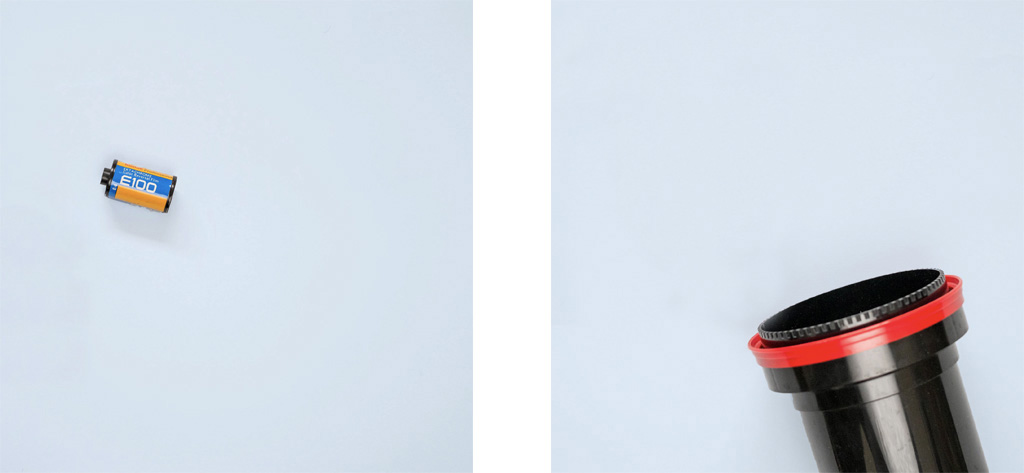
To start off you will need to put the processing tank, with the lid off and the reel removed, into your changing bag. Or have it laid out and easy to reach if you’re using an actual dark room. Alongside this you will need the film opener, some scissors, and your film. Close both zips on the changing bag and put your arms inside the sleeves, the cuffs should be tight enough around your arms to prevent any light getting in.
If you are processing 35mm, use the opener to remove the top ring of the film canister and pull out the roll of film. Carefully cut the tongue off the film, leaving you with a straight edge that goes all the way across the surface. If it is 120, then just unravel the roll and detach from the backing paper.
With your hands inside the changing bag, pick up the reel and make sure you can feel both notches on the outer edge are aligned. You then need to slide the end of the film under the two notches until you feel something catch the sprocket holes. If the film has gone in straight you will be able to turn both sides of the reel in an alternate back and forth motion, moving the film along as you go.
We would definitely recommend getting hold of some exposed film to try this out for the first time. You’ll get the hang of it and be loading the reels without thinking soon, but it can be tricky the first time.
Once the film is on the reel you put it inside the tank. Make sure the central funnel rod is in place. After the reel is in, put the funnel lid on and turn it until it locks in place. Your film is now light-tight and it is safe to take the whole tank out of the changing bag. Or turn the light on if you’re in a dark room.
2. The E-6 Developing Kit
We use the Tetenal Colortec E-6 Developing Kit to process colour transparency film. The kit contains all the chemistry you need, ready to be diluted with water. The kits come in three sizes, 250ml Magic Box, 1L and 2.5L. We’ll go through the instructions for the 2.5L kit, but same applies to the Magic Box Starter Kit, you will just need smaller jugs and storage bottles to prepare the chemistry.
The big difference when you develop either colour film (negative or positive), as opposed to black and white, is the temperature of the chemistry. Whereas with black and white film you use your developer at 20°C, with E6 colour slide film it needs to be 38°C. The difference between negative and positive development is there are two stages of development with E-6 chemistry.
3. Mix Up Your Chemistry
Unless you plan to use all the E-6 chemistry in a short amount of time, you will want to mix it up in batches. You will want to mix up either 500ml or 1l of working solution. We will walk you through mixing up a 1l solution, which will develop 12 rolls of film.
First Developer
First, mix up your First Developer FD. Measure out 200ml of FD and pour into a storage bottle. Then, top up with 800ml of water to make 1l of FD solution. This is where the larger container of water (like a bucket or storage tub) comes in. If your First Developer is below 38°C fill the container with warm water and leave the mixed up chemistry in it to bring it up to temperature. The First Developer should be in a storage bottle so there is no chance of it being contaminated by the water. Or, contaminating the Colour Developer. It is very important that these two developers do not mix.
Colour Developer
Now you need to mix up your Colour Developer CD. This comes in two 500ml bottles, part 1 and part 2. Measure out 200ml of each part, in order, and pour into a mixing jug. Then, top up with 600ml of water to make 1l of developing solution. Pour the developer into a storage bottle and put it in the warm water with the First Developer to bring it up to 38°C.
Bleach-Fix
Next up is the bleach-fix, also known as blix. Here you will have two 500ml bottles. Pour 200ml of part 1 and 200ml of part 2 into a mixing jug, then top up with 600ml of water to make your 1l solution. As the bleach-fix follows the developer in the process it also needs to be at 38°C. The temperature isn’t as crucial as the developer though, so don’t worry if it drops a degree or two.
Stabilizer
Last to be mixed up is the stabilizer. Measure out 200ml bottle and add to 800ml of water to make your 1l solution. The temperature should be near 38°C, but this isn’t as critical as the two developers and the blix.
4. Soak The Film
It is important to keep the developer at 38°C when you process E6 slide film. To avoid a temperature drop and prepare your film you need to warm the tank up. Fill your tank, with the film inside, with 38°C water and agitate for 5 minutes before starting to develop. After the 5 minutes, pour the water away.
5. First Developer
Now you’re ready to develop slide film. The first chemical to go in is, unsurprisingly, the First Developer. Check it is at the correct temperature and set a timer going. A clock, or your phone, will work fine for this. Slowly pour enough of the developer into the central funnel of the processing tank and securely fit the flat lid. Agitate the film by turning the tank upside down, then back up again. If you are processing in a particularly cold space, you will want to place the tank into the water jacket for a few seconds every 30 seconds. This will help maintain the temperature of the developer. Continually agitate for the whole of development time.
For the first four rolls, the development time for the FD is 6 minutes and 15 seconds. Increase this to 6 minutes and 30 seconds for rolls 5-8, and, finally 6 minutes and 45 seconds for rolls 9-12.
As the development time nears the end get ready to pour out the developer. It’s good to have a jug ready, or a funnel into your storage container.
6. Washing
You need to wash between each step with slide film. Fill the tank with 38°C water, agitate and empty. Repeat this several times for 2 minutes and 30 seconds and pour away the water. The water should be clear before you move on to the Colour Developer.
7. Colour Developer
Follow the same steps as with the First Developer. Make sure your Colour Developer is at 38°C, set your timer going and slowly pour into the tank. Agitate the film by turning the tank upside down, then back up again. Make sure you give it some time in the water bath every 30 seconds to maintain the temperature.
For the first four rolls, the development time for the CD is 6 minutes. Increase this to 7 minutes for rolls 5-8, and, finally 8 minutes for rolls 9-12.
8. Washing Again
You need to wash the film again. Fill the tank with 38°C water, agitate and empty. Repeat this several times for 2 minutes and 30 seconds and pour away the water. The water should be clear before you move on to the Blix.
9. Bleach and Fix
Start your timer again and pour in the blix (bleach and fix). This should also be at 38°C, although the temperature isn’t quite as critical at this stage. Again, you need to agitate throughout. Tetenal recommends you extend the bleach-fix every four rolls. So 6 minutes for first four you process, then 7 minutes for rolls 5-8, and, finally 8 minutes for rolls 9-12.
Once the time is up, pour the chemistry out into a jug or storage bottle. You are now able to take the lid off the tank and have a look at your film. Don’t pull too much off the reel when checking as it can be difficult to get the film back on when it’s wet.
10. Final Wash
After the bleach and fix the film needs a final wash. Make sure the funnel lid on the tank is in place and leave it under 38°C running water for 4 minutes.
Alternatively, fill the tank and agitate, inverting the tank 5 times. Empty and refill the tank, this time invert 10 times. Next, empty and refill, then invert 20 times. Finally, empty the tank and refill ready for the stabilizer.
11. Stabilise And Hang Up to Dry
Pour in the stabilizer and agitate for 1 minute. The stabilizer will prevent any change in the colours over time. Leave to soak for a minute then return the stabilizer to the bottle.
Now it’s time to hang your film up to dry using your film clips. You can use your fingers, chamois leather or squeegees to wipe the excess water from the film before you hang it up. Use a clip at the top and one at the bottom to help prevent curly film once it’s dry.
That is all there is to it. You should be able to see your fully developed slide film. Now you know how to develop E6 slide film!
To find out more check out our instructions on How to Develop Black And White Film and How To Develop Colour Film. Also, read our Guide To Film Storage.
Explore
News • Guides • Community • Film Reviews • Film Developing Times • Choose Your Film