Heard about redscale film but not sure what it is? In this guide, we will explain everything you need to know. We’ll walk you through every step of making and shooting redscale film.
Redscale is
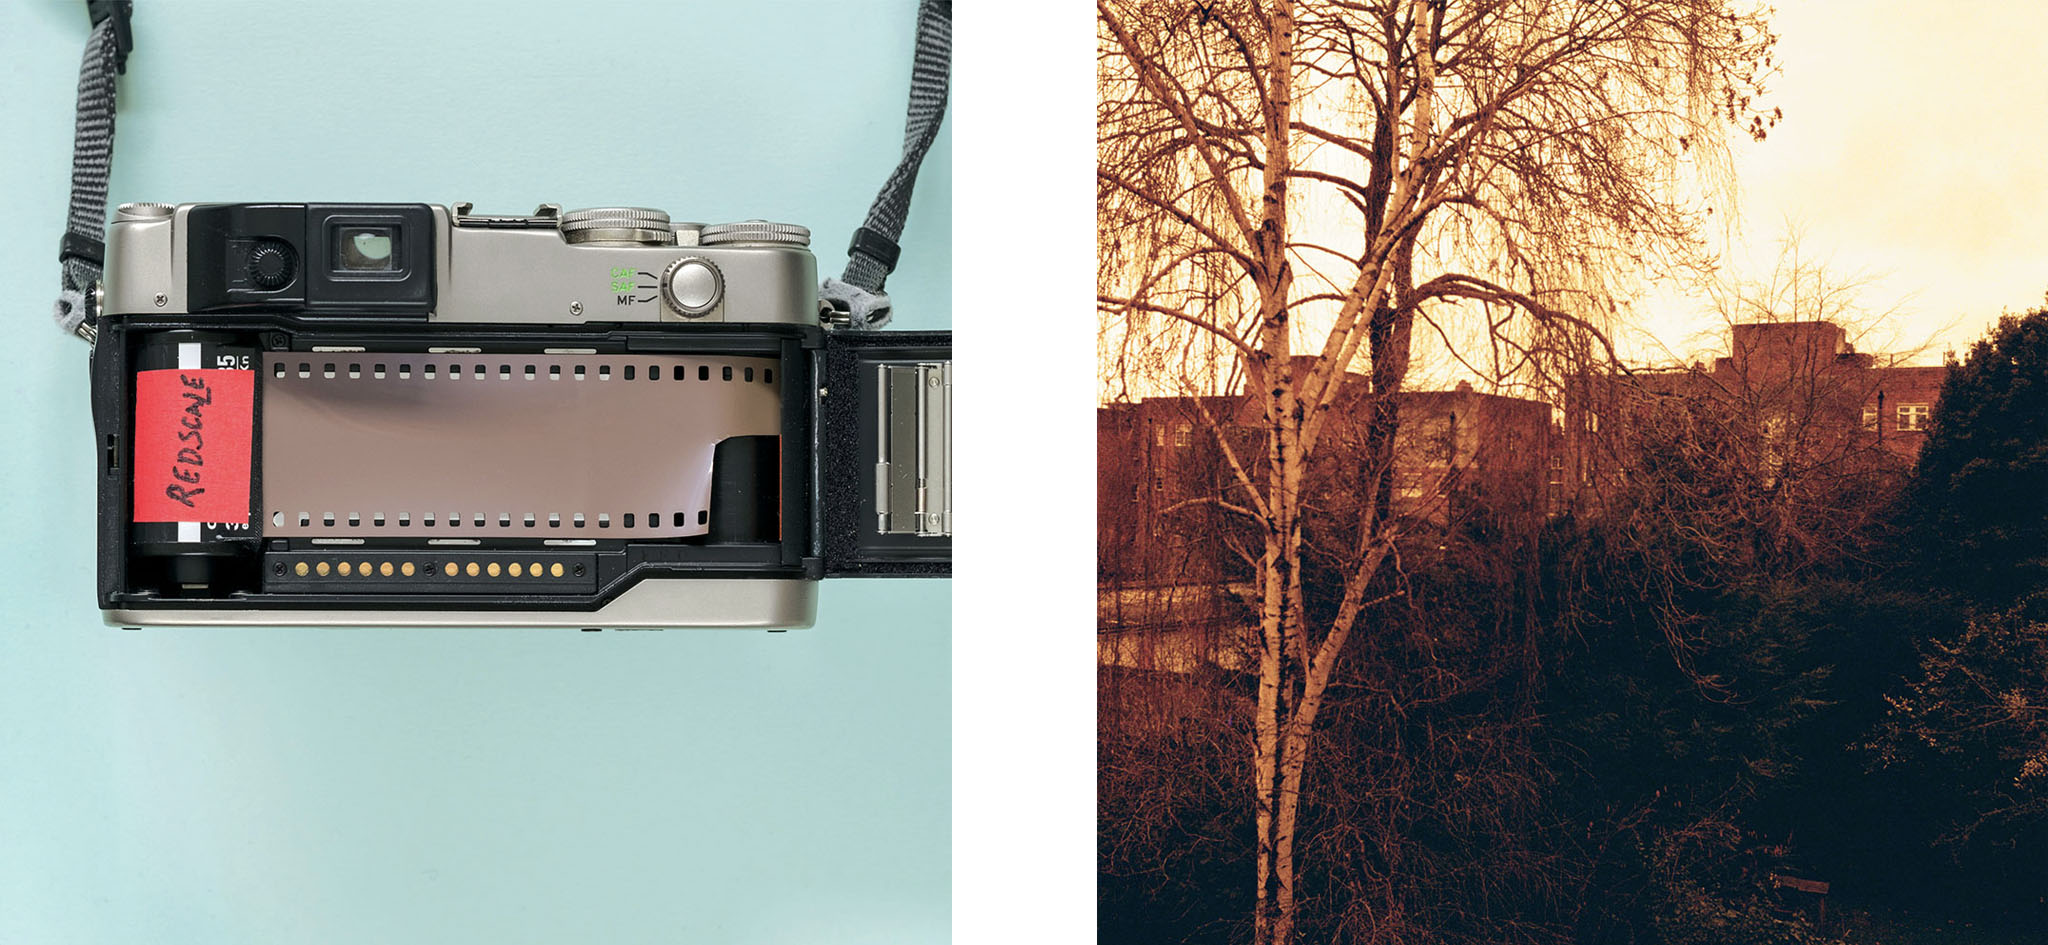
Colour negative film is made up of three colour layers, each sensitive to a different colour of light. Normally when you shoot film, light passes through the blue layer, then the green layer and finally the red layer. When you reverse the film, more light hits the red layer first, with less light filtering through to the green and blue layers. It is this process that creates the rescale effect.
Shooting
You’ll be surprised at how easy it is to make your own
You will need:
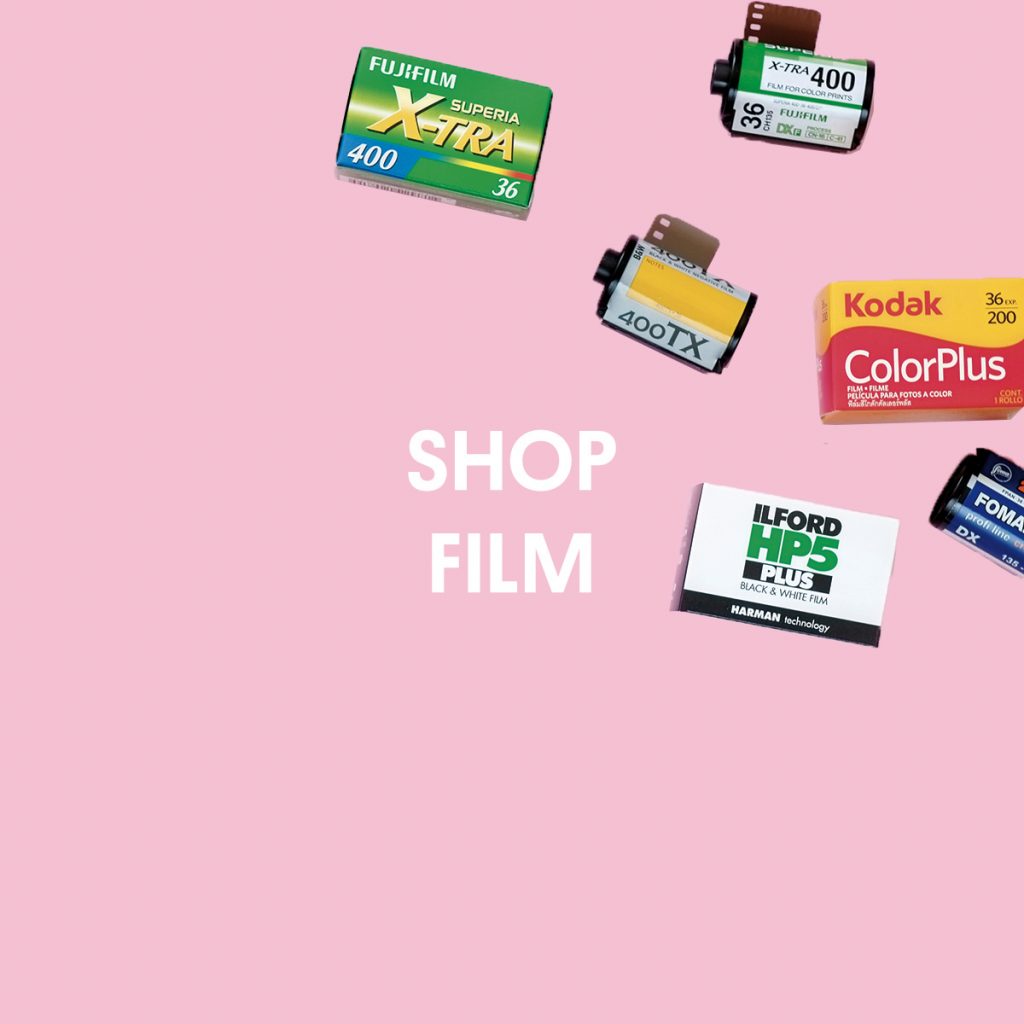
2 rolls of Colour Film
Plastic Film Cartridges (optional)
Changing Bag
Scissors
Tape
1. Cut Your Film
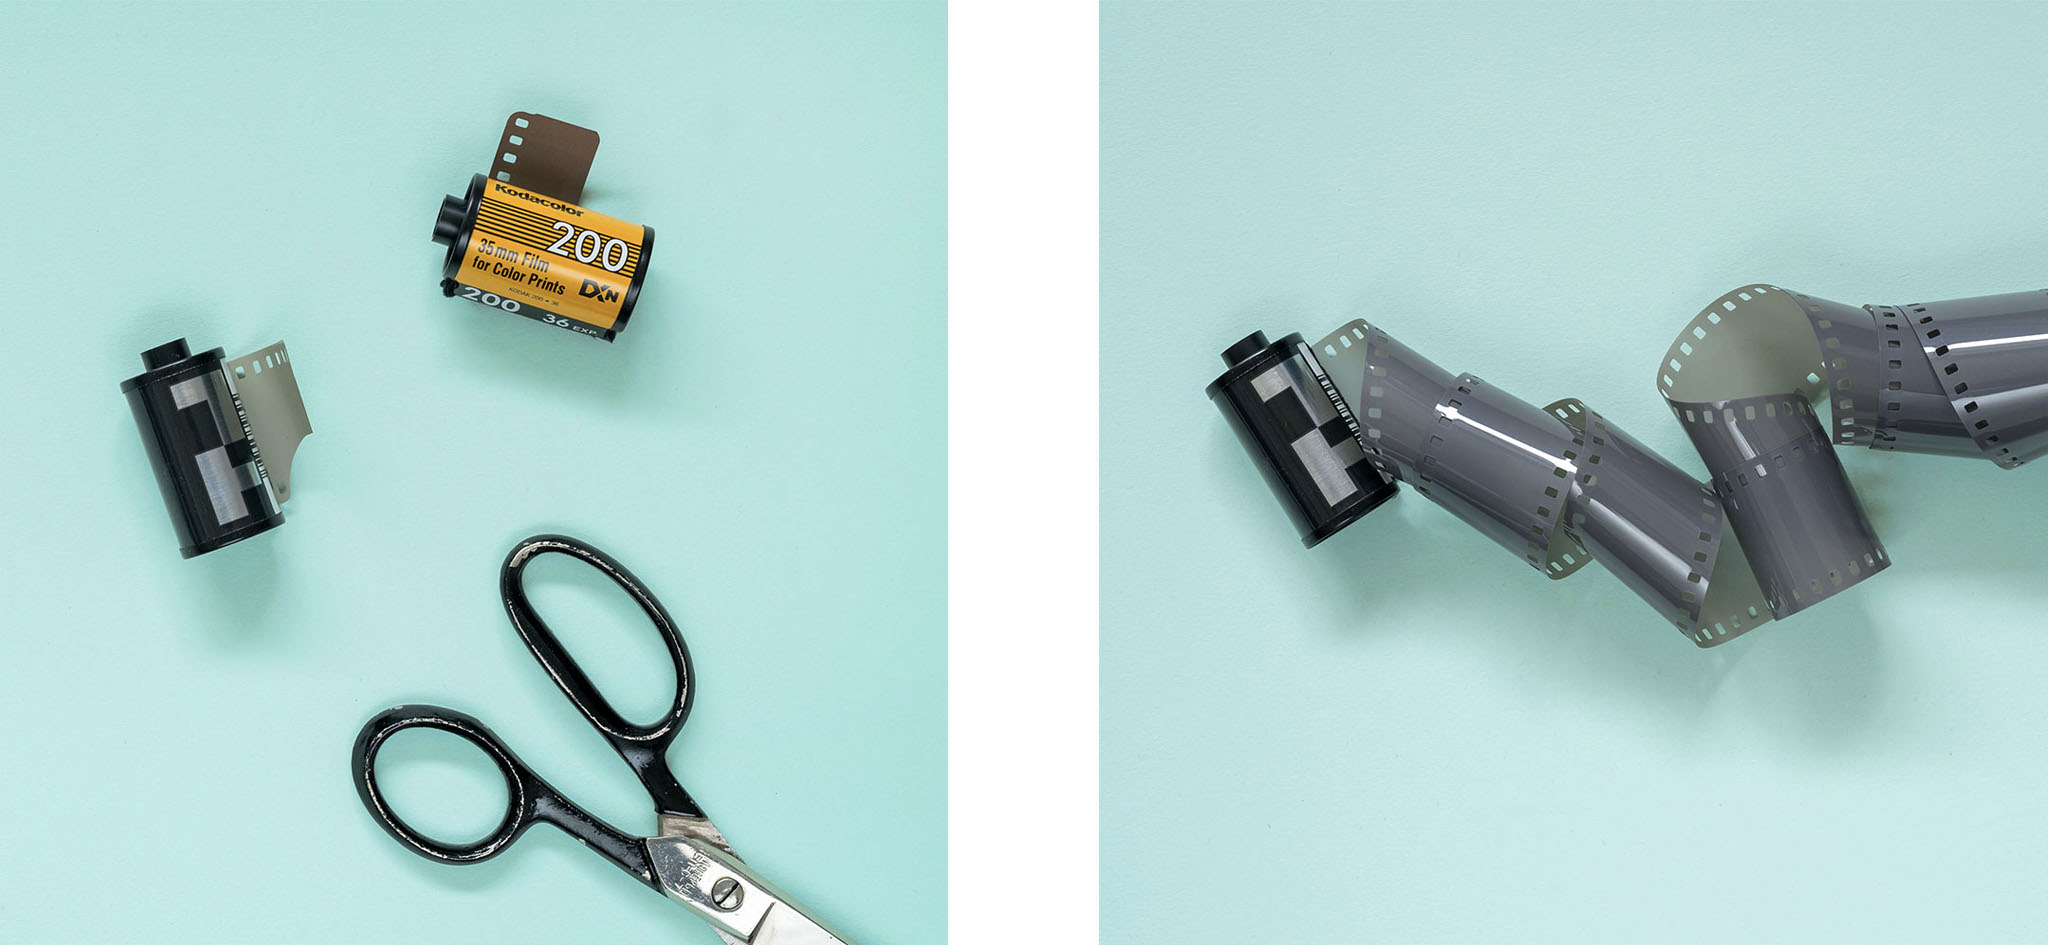
To start off you will need two rolls of film, a pair of scissors, some tape and a changing bag.
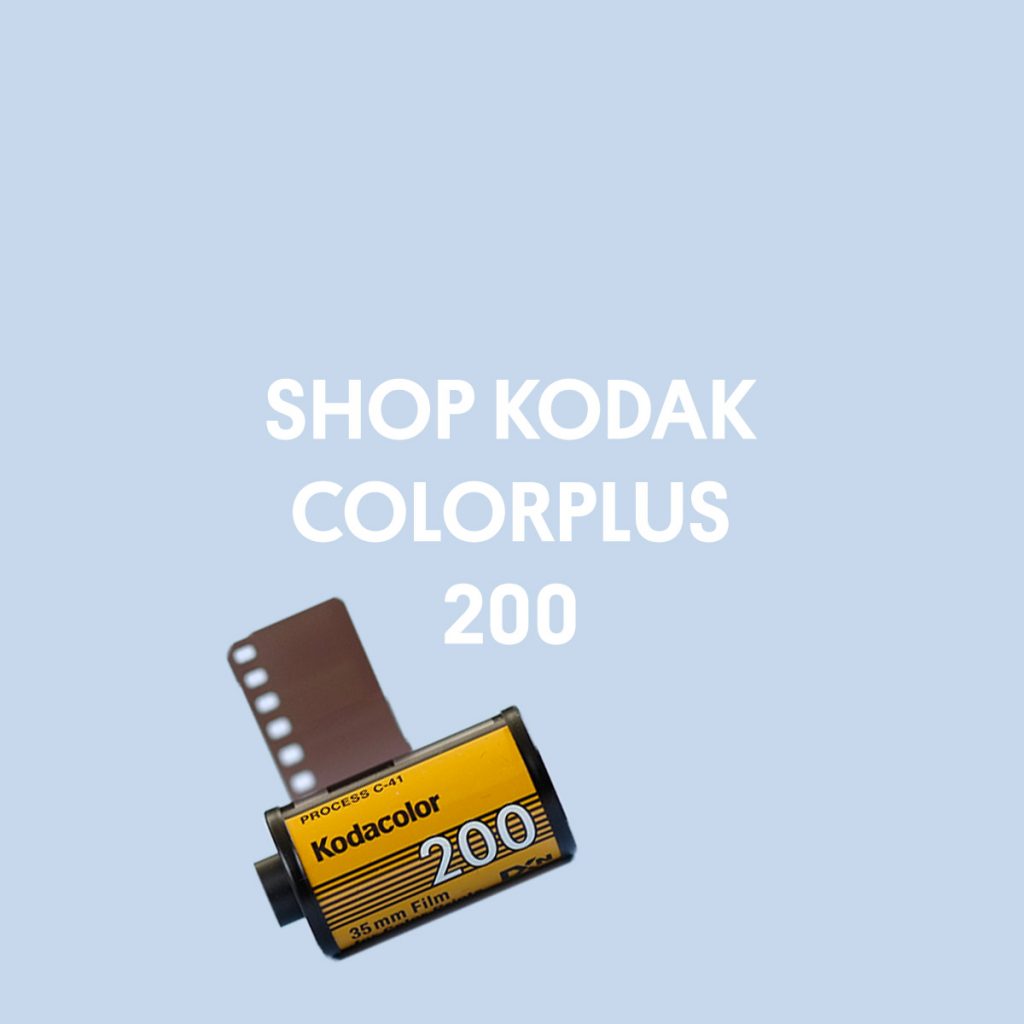
We recommend you start out with a cheap 35mm film like Kodak Colorplus, at least for the empty canister.
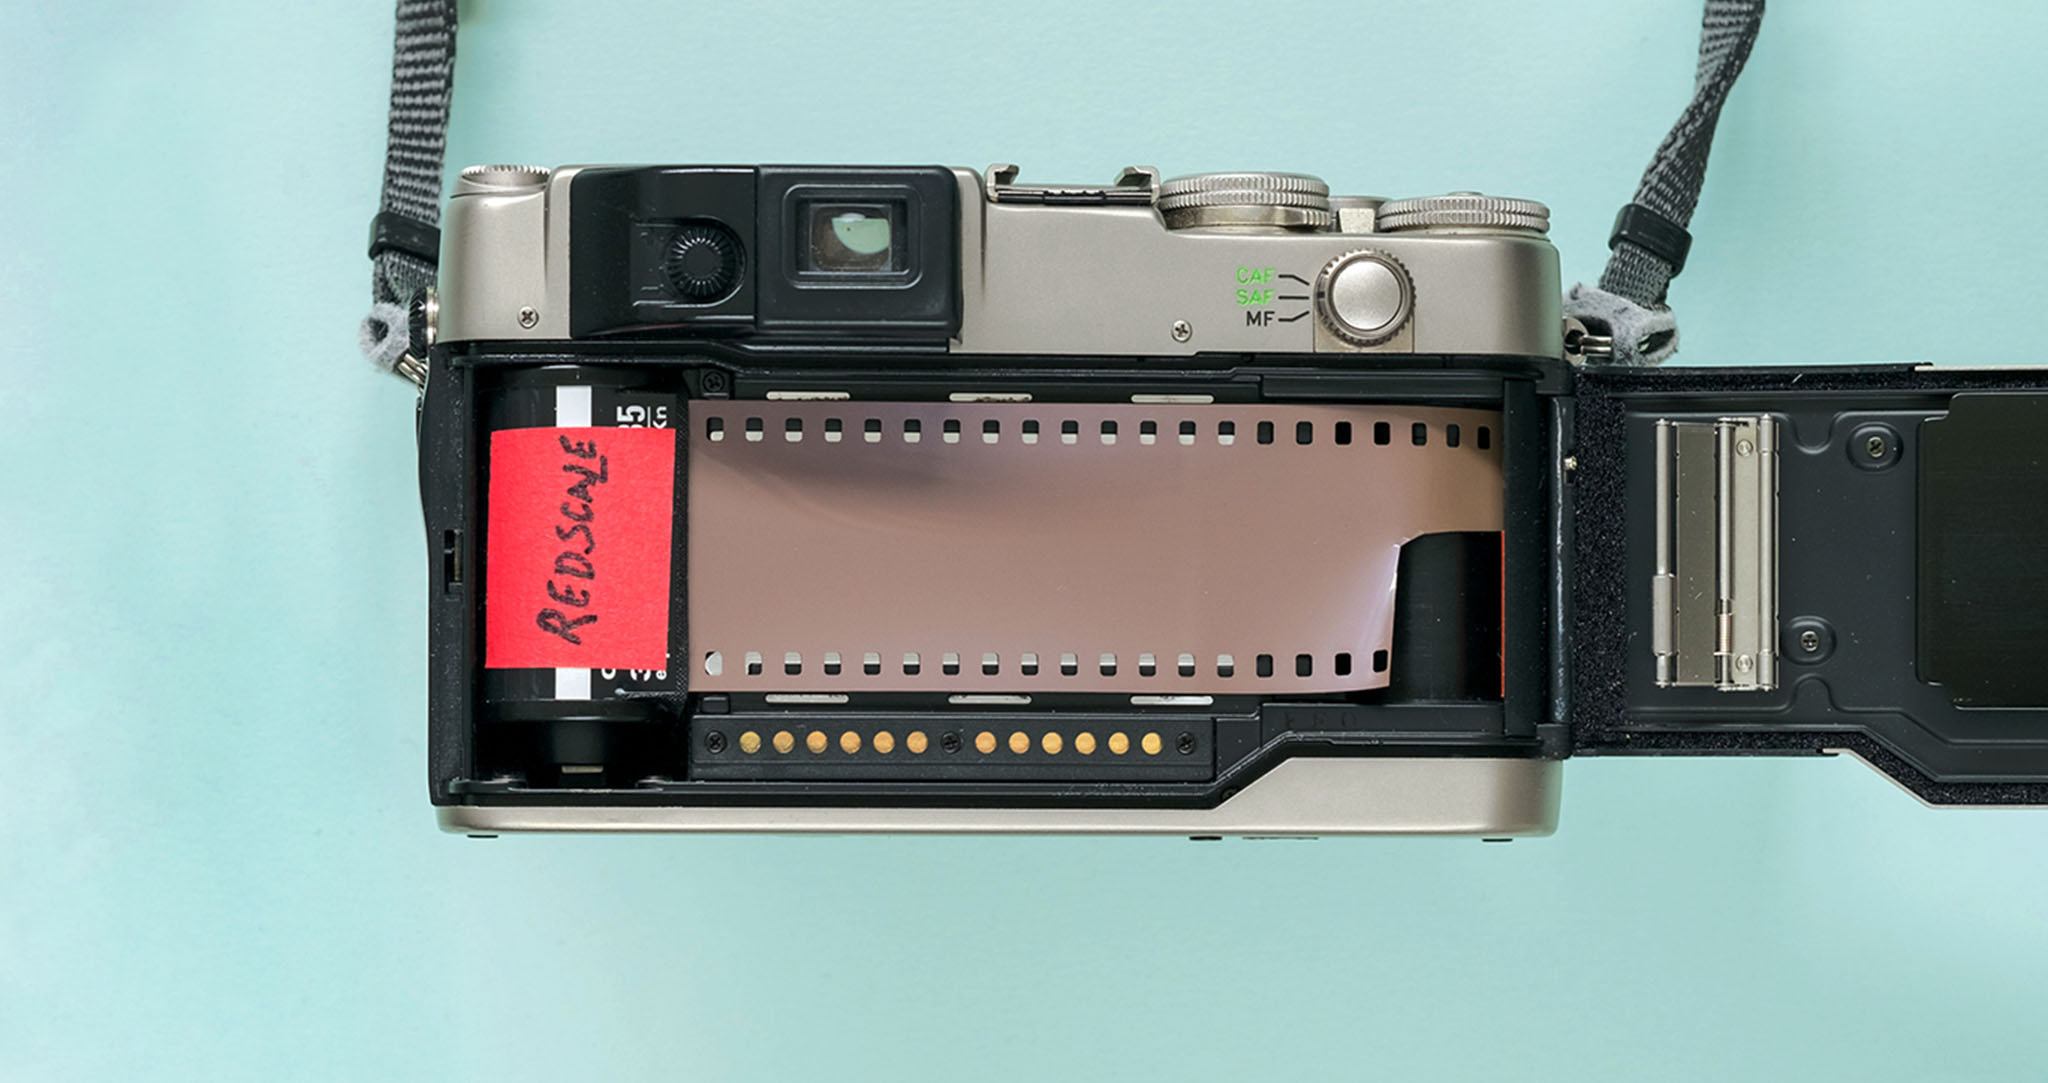
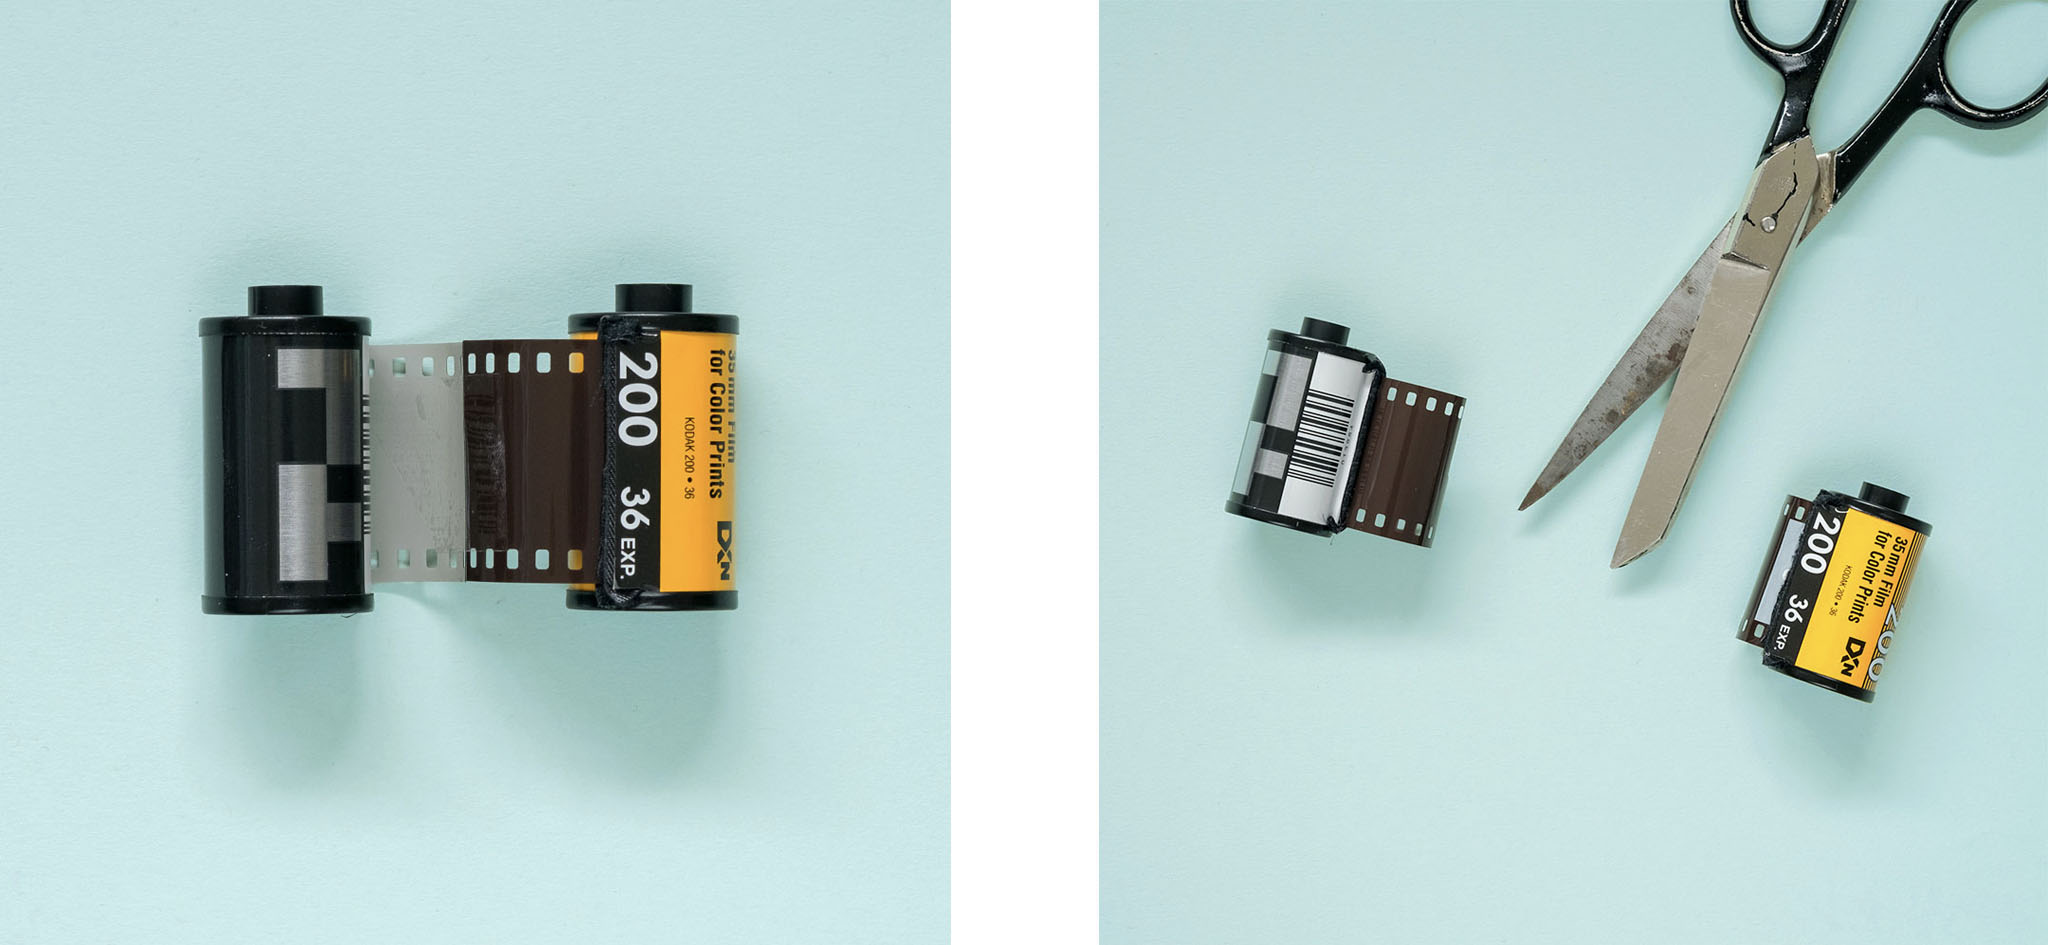
Slowly pull the film all the way out of one of the rolls. You need to cut the film and leave a little bit sticking out of the canister. Make sure you cut a clean, straight line.
You now need to cut the leader off the film you are going to use as your redscale film.
2. Stick Your Film
Next up, you attach your two rolls with tape. You need to make sure the films are facing opposite ways. One roll should have the emulsion facing up, while the other has the emulsion facing down. Line them up and tape them together.
If you are using reloadable film cassettes, cut the leader off your film and tape it to the reloadable spool. Carefully slide it into the cassette with the emulsion facing outward. Put the lid on the cassette so it is fully lightproof.
3. Roll Your Film
The next step is done in complete darkness. If you don’t have a dark space available, you can use a changing bag. Just place your two joined together rolls inside the changing bag and zip it up. Put your arms inside the sleeves – the cuffs should be tight enough around your arms to prevent any light getting in.
Now, roll the unexposed film into the empty canister. Keep rolling until you feel resistance. Once you have transferred all the film you can take the two rolls out of the changing bag.
4. Cut Your Film, Again
All you have to do now is cut the film. We would recommend leaving a bit sticking out of the canister, as you can use this for next roll of redscale.
Cut a leader (the bit that sticks out of the canister) in your newly spooled roll and you’re ready to go!
Overexpose Your Film
How to shoot redscale film? Overexpose your film. Because you are shooting through the film base you need to give your film more exposure. Two stops is recommended. So, if your original film is 200 ISO, you need to shoot it at 50 ISO. A 400 ISO film would be shot at 100 ISO.
Even though you overexpose the film you still develop it as normal in C-41 chemistry.
It’s a good idea to use a camera where you can change the ISO. However, there are a couple of work arounds if you’re using a point and shoot. Either load your redscale film into a canister that has an ISO two stops lower. Or, choose a 400 ISO film and make sure you cover the DX codes with tape. Point and shoots, like the Olympus MJU, will default to 100 ISO if they can’t read the DX code (these are the silver blocks on the back of your film canister).
Bracket Your Film
Bracketing your film means you take the same shot with different exposures. So take your photo, then take it again, but with a higher shutter speed, then a lower shutter speed. Different lighting situations will affect how much
If you aren’t able to change the shutter speeds or apertures on your camera it’s worth taking some notes as you’re shooting. This will help you work out what situations give you the best results.
Experiment
Try out different films. They all have slightly different film bases, so the colours you get will change depending on which film stock you use. The faster films tend to have thicker, darker bases, so may need a bit more exposure.
Results
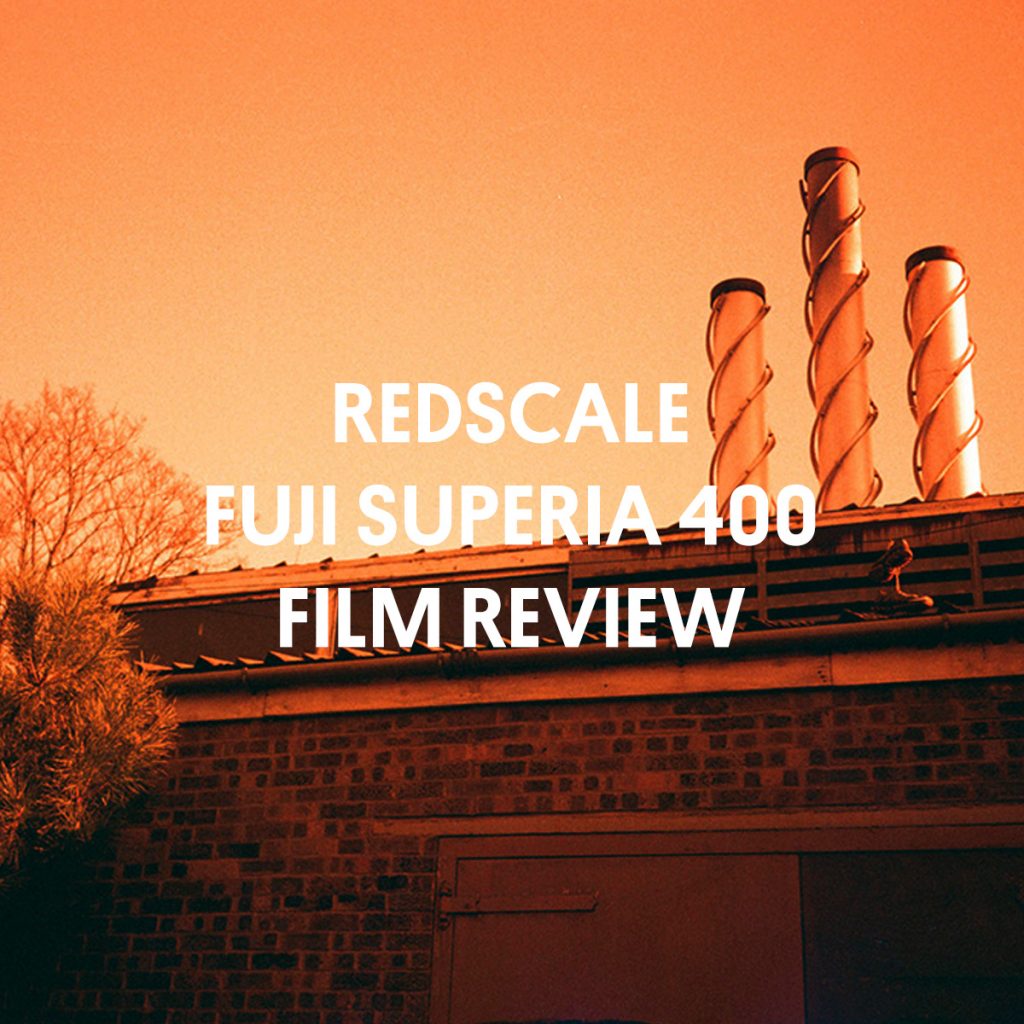
See some results. We shot a roll of Kodak ColorPlus as redscale. Have a look at our Redscale Film Review to see our results.
If you like experimenting, check out our Lomochrome Purple Film Review and How To Use Cyanotype Paper.
Explore
News • Guides • Community • Film Reviews • Film Developing Times • Choose Your Film